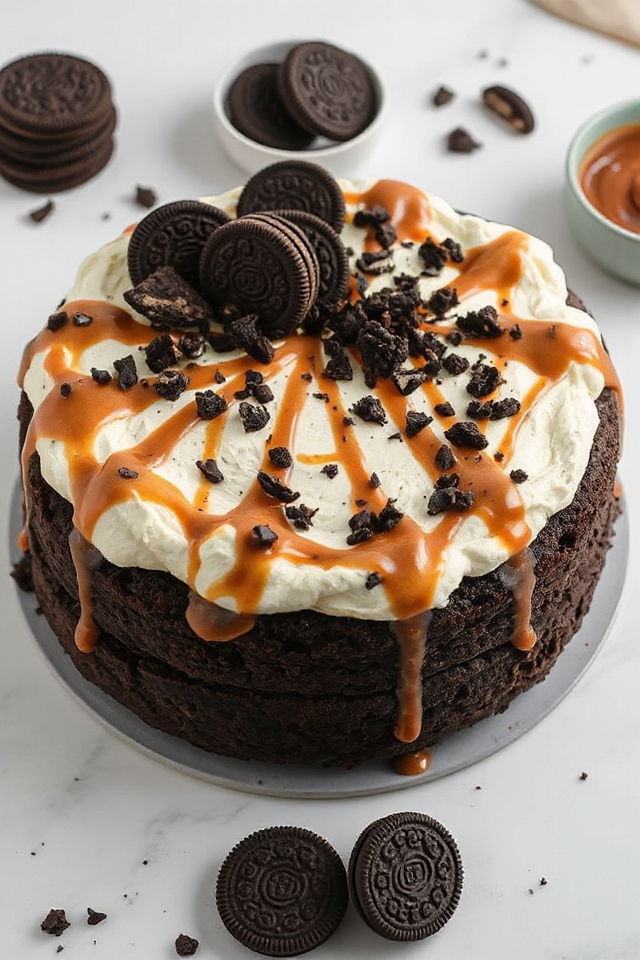
Why You’ll Love This Ice Cream Cake Recipe
You’ll love this ice cream cake recipe because it combines the rich, creamy goodness of your favorite ice cream with the crunch of Oreos, creating a delightful dessert that’s perfect for any occasion. I can’t tell you how many compliments I’ve received when I bring this cake to gatherings! It’s simple to make, and the combination of textures is irresistible. Plus, you can customize it with different ice cream flavors and toppings, making it a versatile treat. Whether it’s a birthday, holiday, or just a fun weekend, it’s always a hit that leaves everyone craving more. Trust me, you’ll be hooked!
Ingredients of Ice Cream Cake
When you decide to whip up an ice cream cake, you want to make sure you have all the right ingredients on hand. This cake is a delightful combination of creamy ice cream and crunchy Oreos that will have everyone asking for seconds.
But before you jump in, let’s take a closer look at what you’ll need to create this sweet masterpiece. Trust me, you won’t want to skip any of these essentials.
Here’s a simple list of ingredients you’ll need for your ice cream cake:
- 1 3/4 quarts of ice cream (your favorite flavor, pick wisely)
- 1 3/4 quarts of another ice cream flavor (yes, you get to double up)
- 48 Oreo cookies (or more if you’re feeling extra generous)
- 1 (7 1/4 ounce) bottle of turtle shell ice cream topping (because why not)
- 2 tablespoons of butter (to hold that crust together)
- 16 ounces of icing (in your choice of flavor or color)
Now, let’s talk about some considerations when picking out your ingredients. First off, ice cream flavors are essential; you want to choose ones that complement each other.
Think of classic combos like chocolate and vanilla, or go wild with cookie dough and mint chip. And those Oreos? Feel free to experiment with different flavors, like the golden Oreos or even the seasonal ones if you’re feeling festive.
As for the turtle shell topping, it adds that extra touch of sweetness and gooeyness, so don’t skimp on it. And icing? Well, let’s just say, you can never have too much icing, but moderation is key—unless you want to find yourself in a sticky situation.
How to Make Ice Cream Cake
Making an ice cream cake is a fun and rewarding experience that will have everyone clamoring for a slice. First things first, grab your trusty 1-foot diameter pan and line it with tin foil. This is the key to ensuring your cake comes out of the pan without a hitch.
Start by placing your pot on top of a sheet of tin foil, wrap it up, and then cut out a circle based on the bottom of the pot. Just leave about 1 cm of extra foil around the edges—trust me, that little bit goes a long way. Once you’ve got your circle, put it at the bottom of your pan and finish lining the sides with foil, leaving those edges hanging out. You’ll thank yourself later when it’s time to remove the cake.
Now, let’s get to the delicious part. Grab 1.5 rows of those 48 Oreo cookies and crush them into crumbs using a Ziploc bag—this is a great way to relieve some stress, too. Melt 2 tablespoons of butter and then mix it with the Oreo crumbs until they’re moistened. If it feels a bit dry, don’t hesitate to add a little more butter; nobody likes a crumbly crust.
Toss in a few shakes of turtle shell ice cream topping for that extra flavor kick, and then press this mixture into the bottom of your lined pan. Make sure it’s about 1 cm thick and covers the bottom completely. A drizzle of turtle shell topping over the crust adds a nice touch before you pop it in the freezer for about 8 minutes to set.
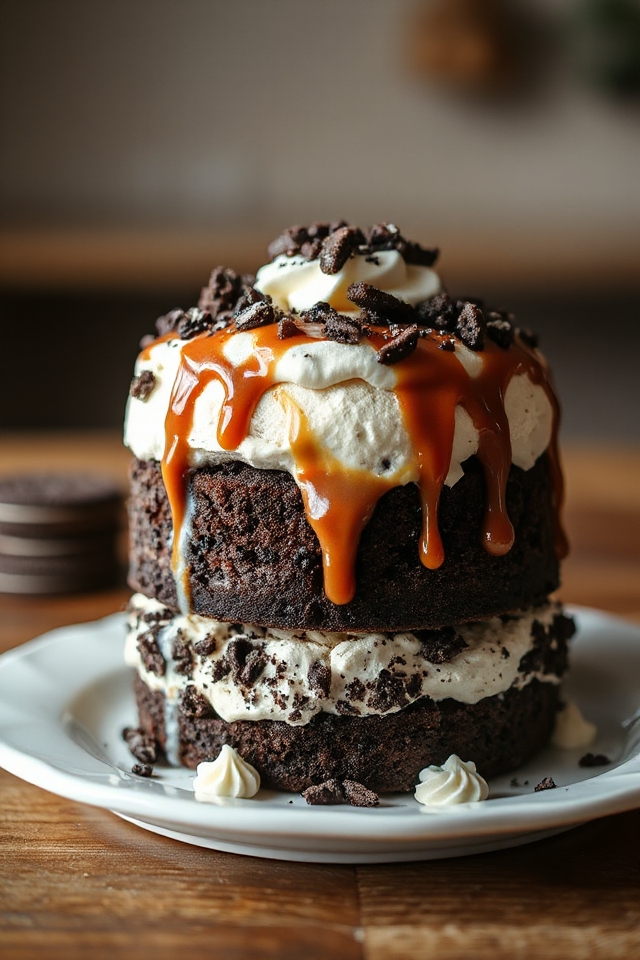
Next up, it’s time to layer in that ice cream magic. Pour in your first tub of melted ice cream—1 3/4 quarts of your favorite flavor—and spread it evenly over the crust. Let it freeze for about 1.5 hours.
In the meantime, crush the remaining Oreos and sprinkle them over the ice cream layer, giving it a gentle press. After another quick freeze (30 minutes should do), you can add your second layer of ice cream if the bottom half looks solid. Freeze it overnight for best results, and when you’re ready, flip the pot upside down, gently pulling on the foil to release the cake.
Don’t forget to decorate it with the remaining crushed Oreos and turtle shell topping, and, if you’re feeling fancy, some icing around the edges. A quick freeze for 10 minutes and voilà, you have a show-stopping ice cream cake that will impress everyone—just don’t forget to save yourself a piece.
Ice Cream Cake Substitutions & Variations
While you might stick to the classic combination of Oreos and vanilla ice cream, there are countless substitutions and variations to elevate your ice cream cake.
For a fruity twist, try using strawberry or mango ice cream with crushed graham crackers for the crust. If you love chocolate, swap in chocolate cake layers and fudge sauce.
Consider adding layers of fresh fruit or nuts for extra texture. You could even experiment with different toppings, like caramel or whipped cream.
With so many options, you can create a unique cake that reflects your personal taste. Enjoy making it your own!
What to Serve with Ice Cream Cake
After creating your custom ice cream cake, it’s time to think about what to serve alongside it.
I love to pair it with fresh fruit like strawberries or raspberries for a nice tart contrast. A drizzle of chocolate or caramel sauce adds a touch of indulgence, too.
Whipped cream always complements the cake beautifully, making each slice feel extra special. If you’re feeling adventurous, serve it with a scoop of complementary ice cream flavors.
For a little crunch, consider some crushed nuts or sprinkles. These additions really elevate the experience and make your dessert table irresistible!
Additional Tips & Notes
When it comes to crafting the perfect ice cream cake, a few extra tips can make all the difference. First, make sure your ice cream is slightly softened before spreading it; this helps avoid a lumpy texture.
I also recommend using a mix of flavors for added depth. If you’re short on time, store-bought toppings work wonders too.
Don’t forget to let your cake sit at room temperature for about 10 minutes before slicing; it makes cutting so much easier.
Finally, feel free to experiment with different cookie bases or toppings to personalize your cake. Happy baking!