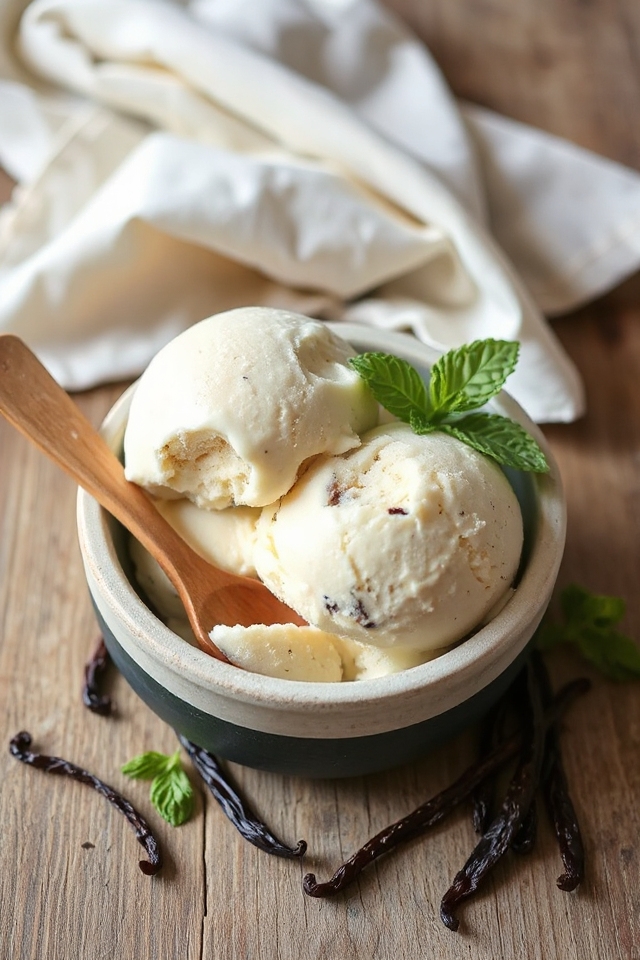
Why You’ll Love This Vanilla Bean Ice Cream Recipe
When you take a bite of this homemade vanilla bean ice cream, you’ll understand why it’s a classic favorite. The rich, creamy texture and the specks of real vanilla beans create an indulgent experience that’s hard to resist.
Each spoonful transports you back to memories of warm summer days and family gatherings. It’s incredibly versatile, too—I love pairing it with fresh fruit, warm brownies, or even just enjoying it on its own.
Making it from scratch allows me to control the ingredients, ensuring it’s pure and delightful. Trust me, once you try it, you’ll be hooked!
Ingredients of Vanilla Bean Ice Cream
Making homemade vanilla bean ice cream is such a delightful adventure. Not only do you get to enjoy the sweet aroma of vanilla wafting through your kitchen, but you’ll also feel like a true culinary wizard as you whip up this creamy, dreamy treat.
The best part? You probably have most of the ingredients already hanging out in your pantry or fridge. Let’s explore what you’ll need for this delicious creation.
Ingredients for Vanilla Bean Ice Cream
- 2 vanilla beans
- 2 cups milk
- 6 large egg yolks
- 3/4 cup sugar, plus an additional 2 tablespoons
- 2 cups very cold heavy cream
- 1 teaspoon pure vanilla extract
Now, as you gather these ingredients, a few things to reflect on—freshness counts! When it comes to vanilla beans, the quality can make a big difference in the flavor. If you can find plump, moist beans, they’ll give your ice cream a richer taste.
And if you’re feeling adventurous, you could even experiment with different types of sugar. For instance, brown sugar will add a hint of caramel flavor, while coconut sugar gives it a unique twist.
Don’t be afraid to play around a little. After all, this is all about making something that brings you joy! So, let’s roll up our sleeves and get ready to make some magic in the kitchen.
How to Make Vanilla Bean Ice Cream
Making vanilla bean ice cream is like taking a mini-vacation in your kitchen. It’s a delightful mix of science and art, and I promise, the end result will be worth every minute spent. So, let’s get those ingredients lined up and plunge into the creamy goodness.
First, grab those two vanilla beans. The star of the show. Split them lengthwise with a sharp paring knife—be careful, we don’t want any accidents. Gently scrape out the seeds; they’re tiny little flavor bombs. Now, toss both the seeds and the pods into a medium saucepan with 2 cups of milk. Scald that mixture over medium heat, then cover and let it steep for about 30 minutes. This is the time to take a breather, maybe dance around your kitchen a little. Just don’t forget about the milk, or you’ll be the proud owner of a burnt pan.
Now, while you wait for the vanilla to mingle with the milk, let’s tackle the egg yolks. You’ll need 6 large egg yolks and 3/4 cup of sugar, plus an extra 2 tablespoons. In a bowl (or the bowl of your electric mixer, if you’re feeling fancy), beat those yolks and sugar together until they’re thick and pale yellow. It’ll take a few minutes of whisking, but you’ll get there.
Once the milk is ready, slowly pour it into your egg mixture, about half a cup at a time, whisking constantly. This is key—if you pour too fast, you’ll end up with scrambled eggs, and nobody wants that.
Next, pour this mixture back into the saucepan and cook it over low heat, stirring constantly with a wooden spoon. You’re looking for a custard that coats the back of that spoon. If it doesn’t, keep stirring! When it’s ready, fill a large bowl with ice and water, and pour your custard through a mesh sieve into a medium bowl set in that ice bath. This step is like a spa day for your custard—it helps it cool down quickly.
Stir in 2 cups of very cold heavy cream and a teaspoon of pure vanilla extract. Cover it up, pop it into the fridge for at least 30 minutes, and then churn it in your ice cream maker until it’s soft and dreamy. If you don’t have an ice cream maker, no worries! Just follow the freezing and whisking method detailed earlier.
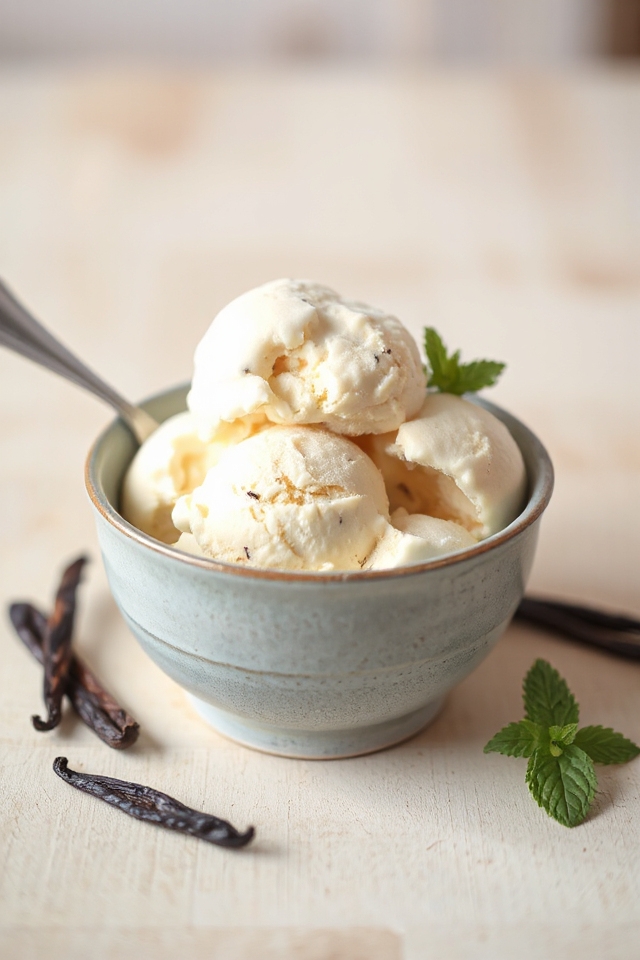
And voilà, you’re ready to scoop out your homemade vanilla bean ice cream. Enjoy every creamy bite.
Vanilla Bean Ice Cream Substitutions & Variations
If you’re looking to mix things up with your vanilla bean ice cream, there are plenty of delicious substitutions and variations to try.
I love adding a splash of almond extract for a nutty twist or incorporating crushed cookies for added texture. You can swap in coconut milk for a dairy-free option, or infuse your base with other flavors like lavender or mint.
If you’re feeling adventurous, try swirling in some fruit puree or chocolate sauce before freezing. Each variation brings a unique taste, making it easy to create a new favorite ice cream every time!
Enjoy experimenting!
What to Serve with Vanilla Bean Ice Cream
After experimenting with various substitutions and variations for your vanilla bean ice cream, it’s time to think about what to serve alongside it.
I love pairing it with warm chocolate sauce for that delightful contrast. Fresh berries, like strawberries or raspberries, add a rejuvenating touch and a pop of color.
You can’t go wrong with homemade brownies or pie, either—just imagine that scoop melting into the warm dessert!
For a twist, try it with a drizzle of caramel or a sprinkle of toasted nuts. Each option elevates the experience, making your vanilla bean ice cream even more irresistible!
Additional Tips & Notes
While preparing your vanilla bean ice cream, it’s vital to keep a few tips in mind to guarantee the best results.
First, let your milk and vanilla beans steep long enough to extract maximum flavor. When tempering the egg yolks, pour the hot milk slowly to avoid scrambling.
Remember, the custard should coat the back of a spoon; this thickness assures creaminess. If you don’t have an ice cream maker, whisking every couple of hours helps break up ice crystals.
Finally, don’t skip chilling the mixture; it’s essential for a smooth texture. Enjoy your delicious homemade ice cream!