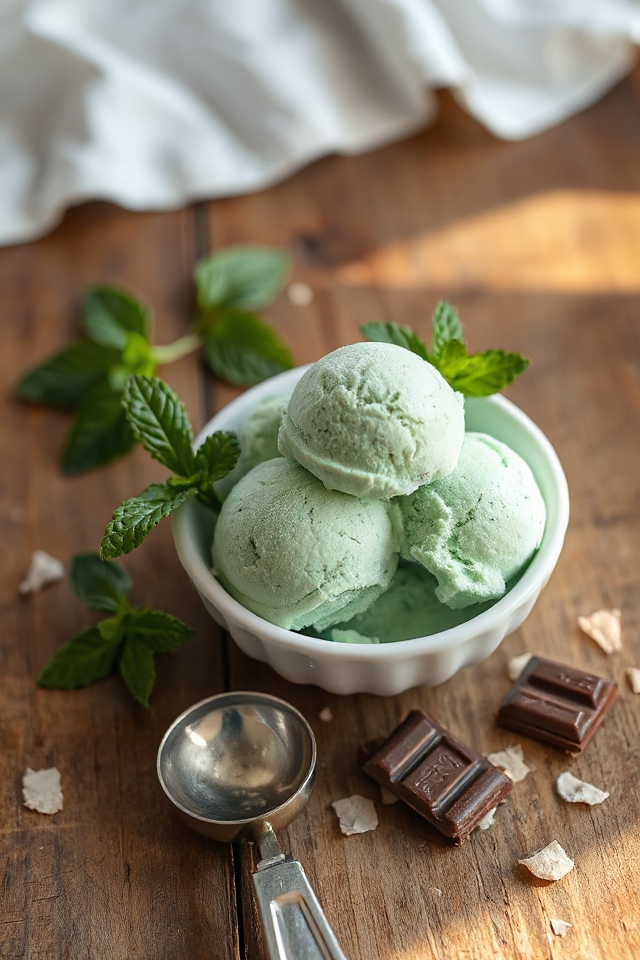
Why You’ll Love This Mint Ice Cream Recipe
Mint ice cream is a delightful treat that brings a rejuvenating twist to any dessert table. I love how its invigorating flavor dances on my taste buds, making each scoop an experience.
This recipe combines creamy goodness with a hint of cool peppermint, creating a balance that’s simply irresistible. Plus, it’s easy to make at home, allowing me to customize it just the way I like.
Whether I’m enjoying it on a warm day or as a special dessert, this mint ice cream always leaves me feeling satisfied and revitalized. Trust me, you’ll want to whip up a batch soon!
Ingredients of Mint Ice Cream
Making mint ice cream at home is like a little adventure in your kitchen! You gather all the ingredients, and before you know it, you’re creating a creamy, dreamy dessert that’s perfect for any occasion.
Whether you’re planning a summer barbecue or just want a tasty treat to enjoy while binge-watching your favorite show, mint ice cream is a classic choice. Plus, the best part? You can customize it to your liking.
So, let’s plunge into the ingredients you’ll need for this invigorating delight.
Ingredients for Mint Ice Cream
- 3/4 cup sugar
- 2 large eggs
- 1 tablespoon cornstarch
- 2 cups half-and-half
- 1 cup heavy cream
- 2 teaspoons peppermint extract
- 6 drops green food coloring
Now, let’s talk about some ingredient considerations. Using fresh ingredients can really make a difference in flavor, especially with the peppermint extract.
If you can find pure peppermint extract, go for it! It’s usually more flavorful than the imitation kind.
And while the green food coloring is fun and gives that classic mint ice cream look, it’s totally optional.
If you’re feeling adventurous, you could even throw in some chopped chocolate-covered mint candies for a fun twist. Seriously, who doesn’t love a little surprise in their dessert?
Just make sure to have everything measured out and ready to go—trust me, it’ll make the process smoother and more enjoyable.
Happy churning!
How to Make Mint Ice Cream
Making mint ice cream at home isn’t just a recipe; it’s an experience that can turn an ordinary day into something special. Ready to plunge in? First, grab your ingredients: start with 3/4 cup sugar, 2 large eggs, 1 tablespoon cornstarch, 2 cups half-and-half, 1 cup heavy cream, 2 teaspoons peppermint extract, and 6 drops of green food coloring. Yes, that’s right, we’re making a cool and invigorating treat that’s not just for summer picnics but perfect any time you crave something sweet.
Begin by beating the sugar into the 2 large eggs in a bowl until the mixture thickens and turns a lovely pale yellow—no need for a gym membership here; your arm will get a workout. Once that’s done, stir in the 1 tablespoon of cornstarch and set your bowl aside.
Now, take a saucepan and bring the 2 cups of half-and-half to a gentle simmer—careful, you don’t want it boiling over like a volcanic eruption. Gradually whisk the hot half-and-half into your egg mixture. This step is key; it keeps the eggs from scrambling, which would be a disaster.
Pour everything back into the pan and place it over low heat. Keep stirring with a whisk or wooden spoon until the custard thickens up a bit. Just a heads-up: If it starts to boil, you might as well start over, and trust me, nobody wants that.
Remove the mixture from the heat and strain it into a clean bowl to get rid of any bits that might’ve turned rogue during the cooking process. Let it cool slightly, then stir in the 1 cup of heavy cream, 2 teaspoons of peppermint extract, and those 6 drops of green food coloring.
Now this is where the magic happens. Cover it and stick it in the fridge until it’s cold—ideally, overnight, but if you’re impatient, a few hours will do.
Once it’s nice and chilled, give it a good stir, then pour it into your ice cream maker. Follow the manufacturer’s instructions and watch as it transforms into icy perfection.
When it’s done, it’ll be soft and ready to scoop, but if you love a firmer texture, just transfer it to a freezer-safe container and let it chill for a couple more hours. Enjoy your homemade mint ice cream; you’ve earned it!
Mint Ice Cream Substitutions & Variations
While crafting your mint ice cream, you might want to contemplate some exciting substitutions and variations to personalize your treat.
For a creamier texture, consider using all heavy cream instead of half-and-half. If you’re feeling adventurous, swap out peppermint extract for spearmint or even basil for a unique twist.
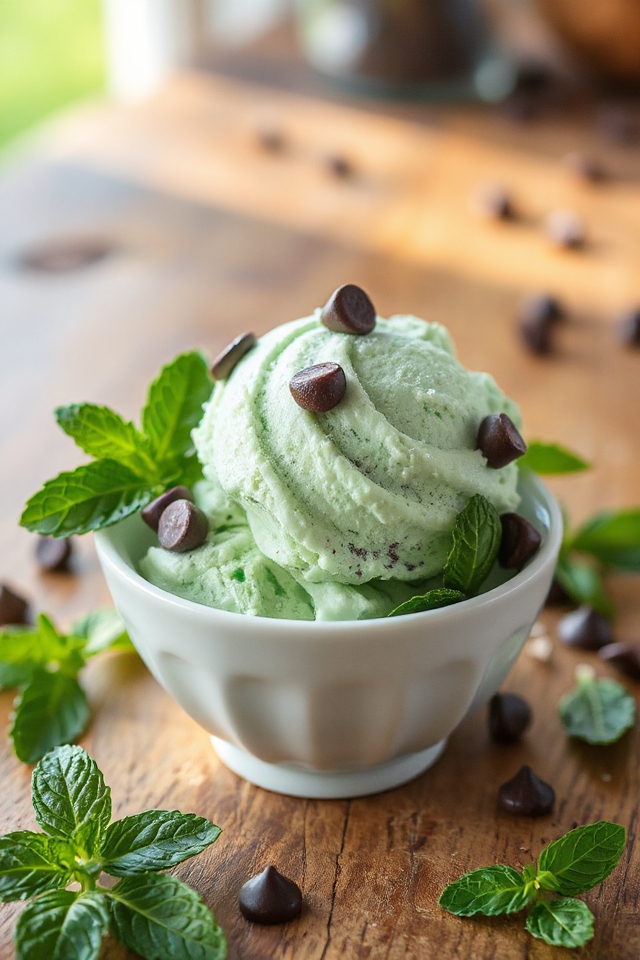
Want a chocolatey kick? Add cocoa powder or chocolate chips. For a fun texture, mix in crushed cookies or nuts during the last few minutes of churning.
Don’t forget to try different food coloring for a festive look! Embrace your creativity, and let your taste buds guide you!
What to Serve with Mint Ice Cream
When I think about enjoying mint ice cream, I often consider what delightful pairings can elevate the experience. A warm chocolate fudge sauce drizzled over the cool minty ice cream creates a heavenly contrast.
Fresh berries, like raspberries or strawberries, add a pop of color and tartness that complements the mint perfectly. For a crunchy texture, I love to sprinkle chopped nuts or crumbled chocolate cookies on top.
If I’m feeling adventurous, a splash of chocolate liqueur gives it an adult twist. Each pairing enhances the invigorating flavor of mint ice cream, making every bite a treat to savor.
Additional Tips & Notes
To guarantee your mint ice cream turns out perfectly, I recommend using fresh mint leaves if possible; they can greatly enhance the flavor.
Make sure to strain the custard well to avoid any unwanted bits, ensuring a smooth texture. If you prefer a stronger mint taste, feel free to adjust the peppermint extract to your liking.
When mixing in add-ins, like chocolate-covered mint candies, do it when the ice cream is semifrozen for even distribution.
Finally, allow the ice cream to freeze a bit longer for a firmer texture. Enjoy your homemade treat with friends and family!