Why You’ll Love This Chocolate Chip Ice Cream Recipe
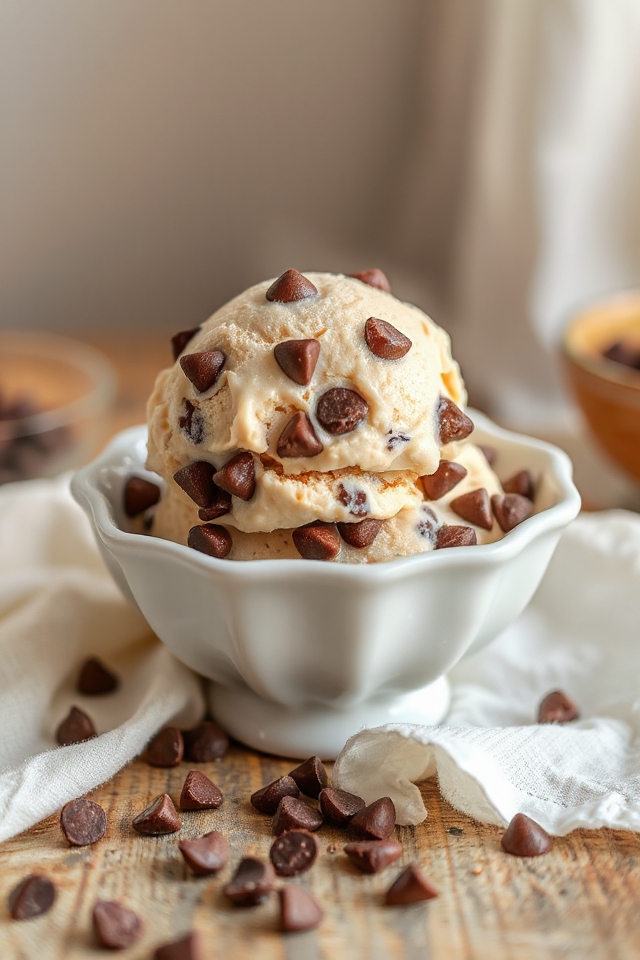
Why will you love this Chocolate Chip Ice Cream recipe? Well, it’s rich, creamy, and indulgent—exactly what ice cream should be!
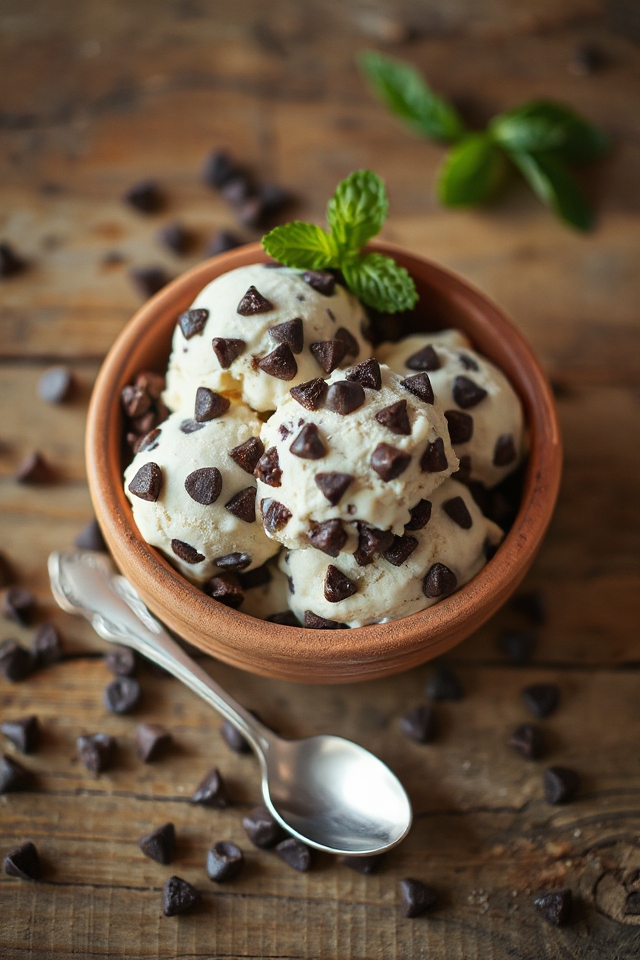
The combination of half-and-half creates a velvety texture that melts in your mouth, while the real vanilla beans infuse every scoop with an irresistible aroma.
Plus, the chocolate chips add a delightful crunch that complements the smooth custard perfectly.
What’s more, making it at home means you can control the sweetness and customize the chocolate chip amount.
You’ll find yourself savoring each bite, feeling proud that you made such a delicious treat from scratch.
Trust me; it’s a game changer!
Ingredients of Chocolate Chip Ice Cream
When it comes to making your very own Chocolate Chip Ice Cream, the ingredients are everything! They come together to create a creamy, dreamy dessert that’s sure to impress anyone who gets a scoop. Plus, knowing what goes into your ice cream means you can adjust things to your liking.
So, let’s explore what you’ll need to whip up this delicious treat.
Ingredients:
- 1 quart half-and-half
- 1 quart fat-free half-and-half
- 2 cups unbleached cane sugar
- 2 vanilla beans, split and scraped
- 12 large egg yolks
- 16 ounces chocolate chips
Now, let’s chat about these ingredients a bit. First off, the half-and-half is a superstar here, providing that rich, creamy base we all crave in ice cream.
If you’re feeling a bit adventurous, you could swap in some whole milk or heavy cream, but I promise, the half-and-half combo is where the magic happens.
And don’t skimp on the vanilla beans if you can help it. They really elevate the flavor, giving it that authentic ice cream shop vibe.
As for the chocolate chips? Well, let’s just say you can never have too many. Whether you like them chunky or finely chopped, that chocolatey goodness is what makes every bite special.
Just remember, this isn’t a race; it’s about enjoying the process and tasting the sweet rewards at the end.
How to Make Chocolate Chip Ice Cream
Alright, let’s explore making some scrumptious Chocolate Chip Ice Cream. First things first, you’ll want to grab your ingredients: 1 quart of half-and-half, 1 quart of fat-free half-and-half, 2 cups of unbleached cane sugar, 2 vanilla beans (don’t skip these, they’re like the secret weapon of flavor), 12 large egg yolks, and 16 ounces of chocolate chips. Got them all? Awesome! Now, let’s get to work.
Start by pouring those 1 quart of half-and-half and 1 quart of fat-free half-and-half into a saucepan. Add in your 2 cups of unbleached cane sugar and the split and scraped vanilla beans—yes, both the beans and the pulp. Turn the heat to medium and bring this magical mixture to a gentle simmer. You want to see some bubbles but don’t go boiling it like a mad scientist.
While that’s warming up, grab a small mixing bowl and whisk those 12 large egg yolks until they’re smooth and creamy—think sunshine in a bowl. Now, here’s where it gets a bit tricky, but you’ve got this. Slowly pour 1 cup of the hot liquid from the saucepan into the egg yolks while whisking continuously. This step is vital; we don’t want scrambled eggs here.
Once combined, pour that yolk mixture back into the saucepan and keep whisking until everything is well incorporated. Bring it back to a simmer and let it cook for about 5 more minutes, or until it thickens enough to coat the back of a spoon.
Now, let’s cool things down. Pour this delicious custard into a bowl and lay a piece of plastic wrap directly on top—this little trick stops a pesky skin from forming. Allow it to cool completely, and if you’re feeling impatient (who isn’t?), you can pop it in the fridge to speed things up.
Once chilled, it’s time to churn! Follow your ice cream maker’s instructions, and halfway through the churning, slowly add in those 16 ounces of chocolate chips. You can sprinkle them in whole for those nice chunky bites, or chop them up smaller if you prefer a more evenly distributed chocolatey goodness.
If your ice cream maker can’t handle the whole batch, don’t fret; just split everything evenly and make two rounds. Once it’s churned to perfection, transfer it to a container, and let it freeze.
There you have it—your very own homemade Chocolate Chip Ice Cream, ready to be devoured. Enjoy the sweet rewards of your efforts; you’ve earned every scoop.
Chocolate Chip Ice Cream Substitutions & Variations
If you’re looking to customize your Chocolate Chip Ice Cream, you’ve got plenty of options to make it uniquely yours.
For a richer flavor, try using heavy cream instead of half-and-half. Want a dairy-free version? Coconut milk works beautifully!
You can also swap out chocolate chips for chunks of your favorite candy or nuts for added texture.
Feeling adventurous? Add a splash of your favorite liqueur or a swirl of caramel or fudge.
Experimenting with flavors like mint or coffee can elevate your ice cream, too.
The possibilities are endless—don’t be afraid to get creative and make it your own!
What to Serve with Chocolate Chip Ice Cream
Chocolate chip ice cream pairs perfectly with a variety of delicious options that can enhance its rich flavor.
I love serving it with warm brownies; the chocolatey goodness creates a heavenly combination. You can also try it alongside fresh fruit, like strawberries or bananas, which add a revitalizing contrast.
If you’re feeling indulgent, drizzle some hot fudge or caramel sauce on top for an extra treat. Crushed nuts or sprinkles can add a delightful crunch, too.
Whichever way you choose to serve it, these pairings elevate the experience and make every scoop even more enjoyable!
Additional Tips & Notes
While making chocolate chip ice cream can be a fun process, there are a few tips that can help guarantee your treat turns out perfectly. First, use high-quality chocolate chips; they really make a difference in flavor.
When mixing the egg yolks, be sure to temper them slowly to avoid scrambling. After cooling the mixture, let it chill in the fridge for a few hours; this enhances the flavor and texture.
Don’t rush the churning process—take your time for that creamy consistency. Finally, if you’ve got leftovers, store them in an airtight container to keep your ice cream fresh and delicious!