Why You’ll Love This Macadamia Nut Ice Cream Recipe
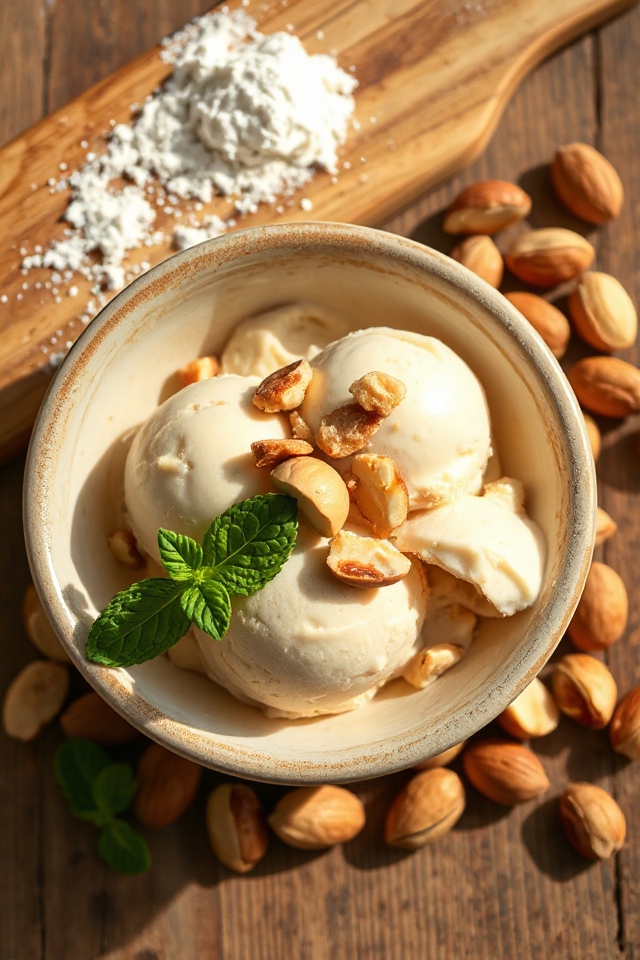
You’ll absolutely adore this macadamia nut ice cream recipe for its rich and creamy texture combined with the delightful crunch of toasted nuts.
The moment you take a spoonful, you’ll experience a heavenly blend of flavors that will transport you to a tropical paradise.
It’s incredibly satisfying to make, too; the process feels rewarding as you whip the cream and fold in the nuts.
Plus, it’s perfect for any occasion—whether you’re hosting friends or just treating yourself.
Trust me, once you try this homemade version, store-bought ice cream just won’t cut it anymore!
You’ll keep coming back for more.
Ingredients of Macadamia Nut Ice Cream
When it comes to making your own ice cream, the ingredients you choose can make all the difference. For this delightful macadamia nut ice cream, you’ll want to gather some basic yet essential items that will come together to create a creamy, nutty treat.
It’s not just about throwing things into a bowl; it’s about crafting something special that’s sure to impress. So, let’s explore what you need for this mouthwatering concoction.
Ingredients for Macadamia Nut Ice Cream
- 6 eggs, separated
- 1/2 cup caster sugar (100 g)
- 1 cup milk (250 ml)
- 2 cups heavy cream (500 ml)
- 3/4 cup macadamia nuts, lightly toasted and finely chopped (125 g)
Now, while the ingredients list may seem pretty straightforward, there are a few things to reflect on.
First, using fresh eggs can elevate your ice cream’s richness—nobody wants a bland dessert, right?
Also, the quality of your heavy cream matters. Splurging a little on a higher fat content cream can yield a smoother and creamier texture.
And let’s not forget about those macadamia nuts; toasting them brings out their natural oils and enhances their flavor.
How to Make Macadamia Nut Ice Cream
Alright, let’s plunge into the delicious world of homemade macadamia nut ice cream. First things first, you’ll need to grab those 6 eggs and separate them. Yes, that means you’ll want to keep the yolks while leaving the egg whites behind. I know, it can be a bit tricky, especially if you’re not a seasoned egg separator. Just remember, the yolks are your golden ticket to a creamy, rich ice cream, while the whites can sit and sulk in the fridge for your next omelet adventure.
Now that you’ve got your egg yolks ready, toss them in a bowl with 1/2 cup of caster sugar (that’s about 100 grams). Whisk those together until they transform into a pale, fluffy mixture. It’s like magic, watching them turn from yellow to this lovely light color.
Next, in a saucepan, combine 1 cup of milk and 1 cup of heavy cream (which is half of the 2 cups you’ll eventually use). Heat it over medium until you see tiny bubbles forming around the edges—don’t let it boil, though. Once it’s hot, you’re going to want to whisk in a little of this milk mixture into your yolk-and-sugar concoction. This step is super important because it helps to temper the eggs, preventing them from scrambling when you mix everything together.
Then, whisk it all back into the saucepan and cook it over medium-low heat, stirring constantly until it thickens enough to coat the back of a wooden spoon. Think of it as a little workout for your arm, but totally worth it for that creamy texture.
Once you’ve reached that perfect consistency, take the saucepan off the heat and let it cool—maybe place it in a sink with ice water if you’re feeling fancy. While that cools, take the remaining 1 cup of heavy cream and whip it until soft peaks form. Just like that, you’re halfway there.
Now gently fold this whipped cream into your cooled mixture, and here’s where the magic happens: toss in 3/4 cup of finely chopped, lightly toasted macadamia nuts. You want to make sure every scoop gets a little nutty goodness.
Finally, pour this delightful mixture into an ice cream maker and follow the manufacturer’s instructions. If you don’t have an ice cream maker, you can pour the mixture into a container and freeze it for a few hours, stirring every 30 minutes or so to keep it creamy.
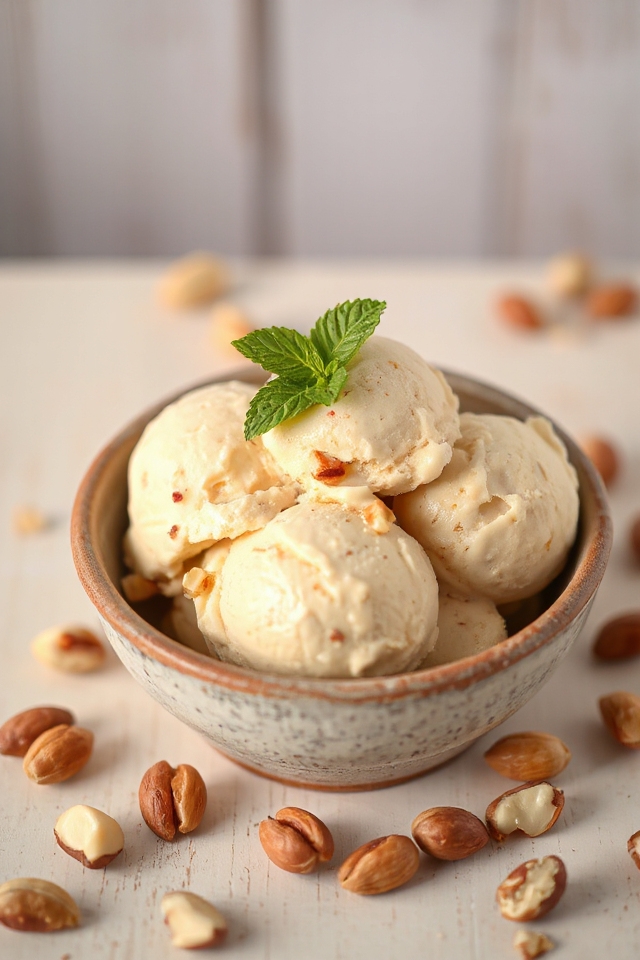
Serve it up immediately for a soft-serve treat or let it freeze longer for that scoopable perfection. Either way, your taste buds are in for a treat. Enjoy!
Macadamia Nut Ice Cream Substitutions & Variations
While macadamia nut ice cream is delicious on its own, there are plenty of substitutions and variations that can elevate your dessert experience.
For a nuttier flavor, try using toasted pecans or almonds instead of macadamia nuts. If you’re dairy-free, coconut milk can replace heavy cream, resulting in a creamy texture.
You can also add a swirl of caramel or chocolate for extra indulgence. For a fruity twist, mix in some diced pineapple or mango.
Don’t shy away from experimenting with flavors like vanilla or coffee to create your unique ice cream masterpiece. Enjoy discovering your perfect blend!
What to Serve with Macadamia Nut Ice Cream
To truly enhance your macadamia nut ice cream experience, consider pairing it with complementary flavors and textures. A warm slice of chocolate cake creates a delightful contrast, while a drizzle of caramel sauce adds sweetness.
For a fruity twist, fresh pineapple or mango slices balance the creaminess beautifully. If you’re in the mood for something crunchy, try serving it with toasted coconut or a sprinkle of crushed cookies.
I’ve even enjoyed it alongside a rich espresso to elevate the flavors. These pairings not only enhance the ice cream but also make your dessert experience unforgettable. Enjoy experimenting!
Additional Tips & Notes
When making macadamia nut ice cream, it’s helpful to keep a few tips in mind to guarantee the best results.
First, always use fresh, high-quality macadamia nuts for the richest flavor. Toasting them enhances their natural oils and adds depth.
Next, make sure your cream mixture cools completely before adding the whipped cream; this prevents the cream from deflating.
If you don’t have an ice cream maker, consider using the freeze-and-stir method.
Finally, for a creamier texture, let the ice cream sit at room temperature for a few minutes before scooping.
Enjoy the delightful taste of your homemade treat!