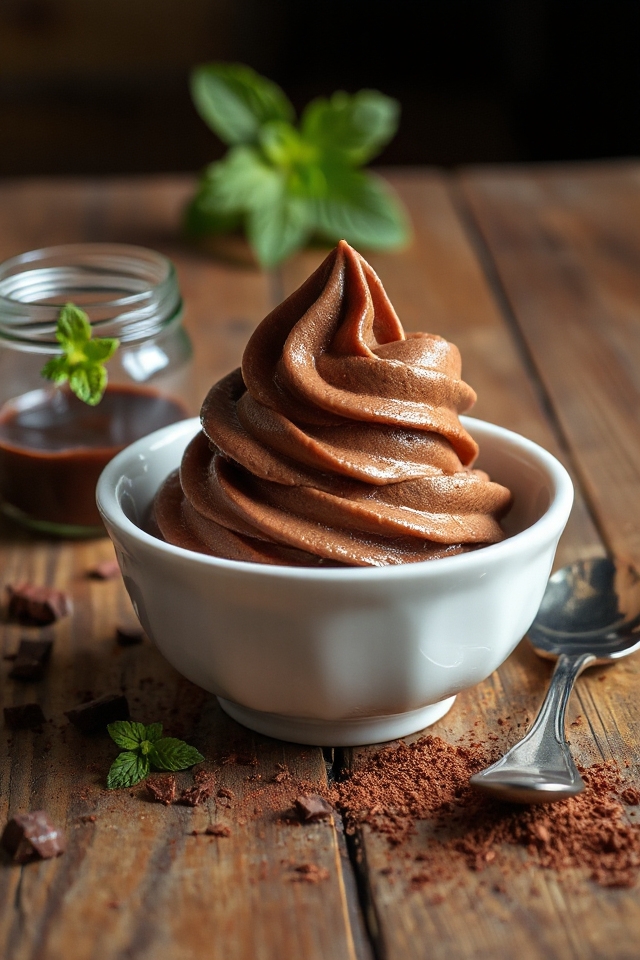
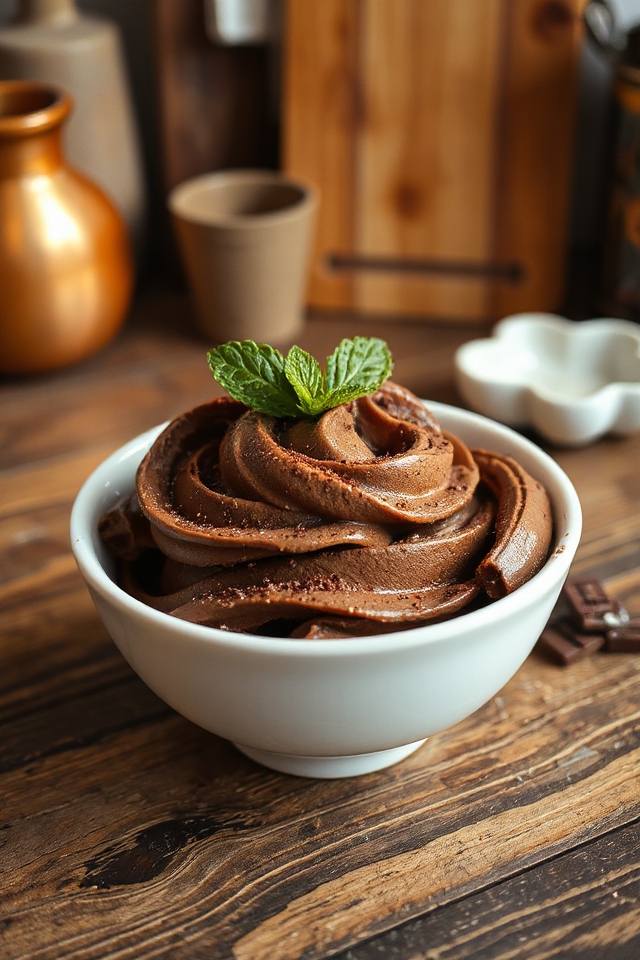
Why You’ll Love This Sugar Free Chocolate Ice Cream Recipe
If you’re looking for a guilt-free treat that satisfies your chocolate cravings, you’ll absolutely love this sugar-free chocolate ice cream recipe.
It’s rich, creamy, and completely indulgent without the sugar crash. I adore how easy it’s to whip up, and I can customize it to suit my taste.
Plus, I don’t have to worry about any hidden sugars, making it perfect for any health-conscious dessert lover.
Every scoop feels like a delicious escape, and I can enjoy it without any guilt.
Trust me, once you try it, you’ll want to make it a regular treat. Enjoy!
Ingredients of Sugar Free Chocolate Ice Cream
When it comes to whipping up a delicious treat that won’t weigh you down, this sugar-free chocolate ice cream recipe is a total winner. With just a handful of ingredients, you can create a creamy, dreamy dessert that satisfies your chocolate cravings without the guilt. Seriously, who wouldn’t want to indulge in a scoop (or two) of this heavenly concoction?
Plus, it’s super customizable! You can tweak it as you like, whether you want it to be extra chocolatey or a bit lighter on the flavor. So, let’s plunge into what you’ll need to bring this delightful dessert to life.
Here’s what you’ll need:
- 1 teaspoon plain gelatin
- 2 1/2 cups low-fat milk
- 1/2 cup sugar-free instant chocolate drink mix
- 1 cup drained yogurt (the solid half of 2 cups yogurt strained overnight)
- 1 teaspoon vanilla extract
- 1 dash salt
Now, while these ingredients come together to create a fantastic treat, there are a few things to keep in mind. First, the gelatin is key for that luscious texture, so don’t skip it.
And if you’re not a fan of low-fat milk, you could swap it out for a non-dairy alternative, like almond or coconut milk, just check that it’s unsweetened to keep it sugar-free. As for the yogurt, straining it overnight might seem like extra work, but it really makes a difference in achieving that creamy consistency.
Trust me, your taste buds will thank you later. Now, let’s get ready to make some ice cream magic!
How to Make Sugar Free Chocolate Ice Cream
Alright, let’s explore how to whip up this delightful Sugar Free Chocolate Ice Cream. It might sound a bit complex, but I promise you, it’s easier than it seems.
First things first, grab 1 teaspoon of plain gelatin. We’re going to soften that gelatin in 1/2 cup of low-fat milk. Just mix them together and let it sit for a few minutes while you gather your other ingredients.
Next, you’ll want to heat that gelatin-milk mixture in a saucepan over medium heat until the gelatin is completely dissolved. Don’t leave it unattended; we don’t want a science experiment gone wrong on our hands.
Once it’s all melted and gooey, take it off the heat and let’s cool it down. A great trick is to place the saucepan in a bowl filled with cold or ice water. This helps it cool off faster, and you can take a moment to admire how you’re about to become an ice cream wizard.
Now, onto the fun part. Pour that cooled mixture into a blender or food processor. Add in the remaining 2 cups of low-fat milk, 1/2 cup of sugar-free instant chocolate drink mix, 1 cup of drained yogurt (which, let’s be honest, you should have strained overnight for the best creamy texture), 1 teaspoon of vanilla extract, and a dash of salt.
Blend it all together until it’s as smooth as your favorite playlist. Once you’ve achieved that creamy perfection, cover the mixture and chill it in the fridge for about an hour. This step is essential; it really helps the flavors meld together.
After that, you’re almost there! Take the chilled mixture and give it another quick blend or stir before pouring it into your ice cream maker. Follow the machine’s instructions, and soon enough, you’ll have a luscious, guilt-free chocolate ice cream that’s ready to serve.
Just think about it, you could be indulging in a bowl of this heavenly treat while impressing your friends with your culinary skills. Who knew being healthy could taste this good?
Sugar Free Chocolate Ice Cream Substitutions & Variations
While creating your own Sugar Free Chocolate Ice Cream is a delightful experience, experimenting with substitutions and variations can elevate it even further.
I love swapping out low-fat milk for almond or coconut milk for a richer flavor. For a creamier texture, try using full-fat yogurt instead of the strained version.
If you want to add a little crunch, mix in some chopped nuts or sugar-free chocolate chips before freezing. You could also enhance the chocolate flavor with a tablespoon of unsweetened cocoa powder.
The possibilities are endless, and it’s all about finding the combination that satisfies your taste buds!
What to Serve with Sugar Free Chocolate Ice Cream
After you’ve crafted your delicious Sugar Free Chocolate Ice Cream, you might wonder what to pair it with to elevate your dessert experience.
I love serving it with fresh berries, like strawberries or raspberries, for a burst of flavor. A sprinkle of chopped nuts adds a delightful crunch, too.
You can also drizzle some sugar-free chocolate or caramel sauce on top for extra richness.
If you’re feeling adventurous, try it alongside a slice of sugar-free cheesecake or in a banana split with sliced bananas.
Each of these options complements the ice cream beautifully, making your dessert truly unforgettable!
Additional Tips & Notes
To guarantee your Sugar Free Chocolate Ice Cream turns out perfectly, I recommend paying close attention to the temperature of your ingredients.
Make sure your milk is at room temperature, as this helps dissolve the gelatin more effectively. If you want a richer flavor, consider using whole milk instead of low-fat.
Don’t rush the chilling process; letting the mixture cool completely before freezing guarantees a creamier texture.
Always blend or stir the mixture again before pouring it into your ice cream maker—this helps incorporate air for that delightful consistency.
Finally, store it in an airtight container for the best freshness!