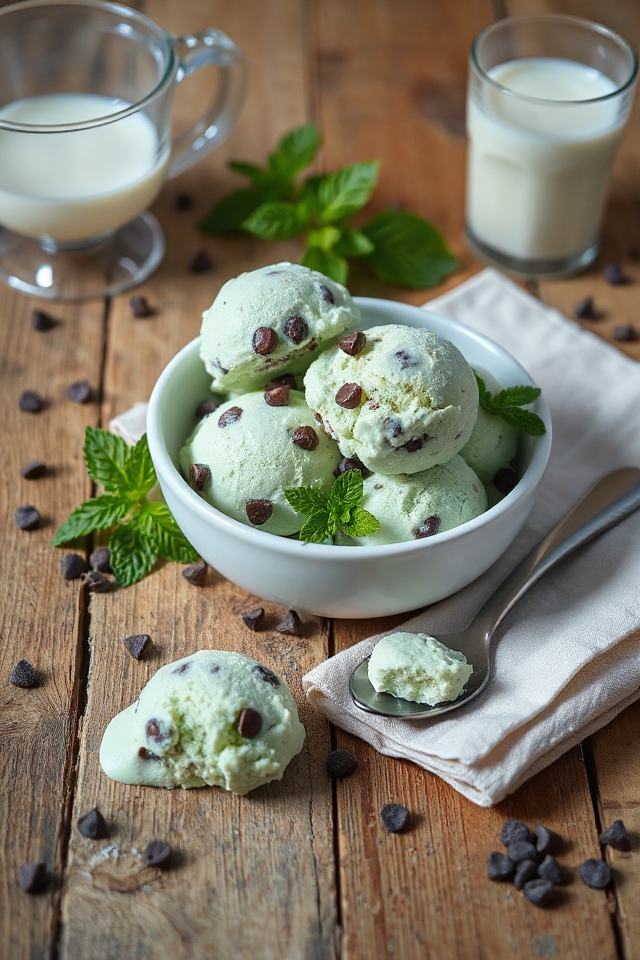
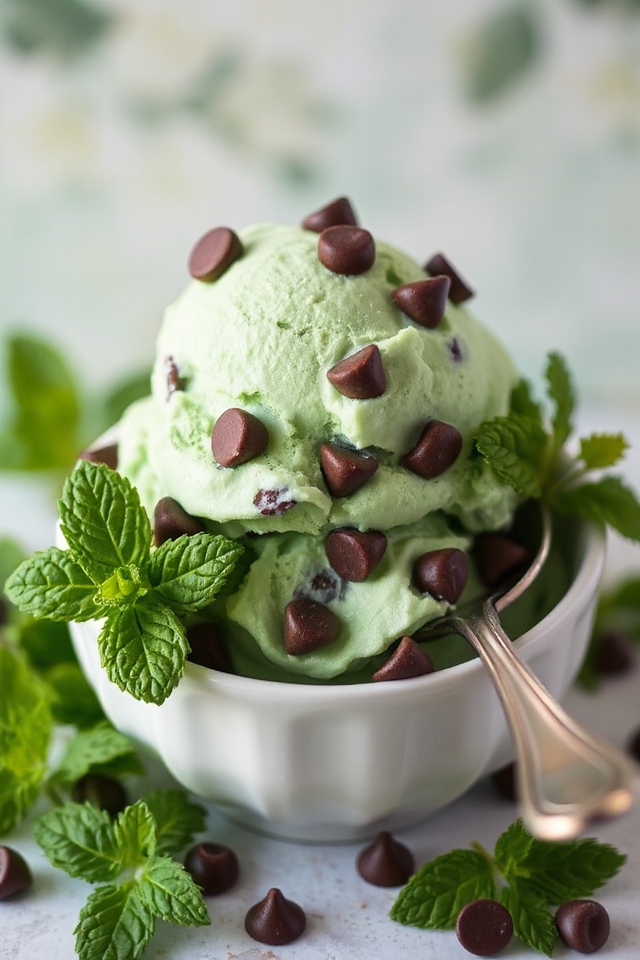
Why You’ll Love This Homemade Mint Chocolate Chip Ice Cream Recipe
If you’re looking for a revitalizing treat that combines the coolness of mint with the richness of chocolate, you’ll love this homemade mint chocolate chip ice cream recipe.
This delightful dessert not only satisfies your sweet tooth, but it also brings a rejuvenating twist that’s perfect for warm days.
I can’t get enough of the creamy texture and the burst of mint flavor with each bite.
Plus, making it at home means I control the ingredients—no artificial flavors here!
Trust me, once you try it, you’ll want to whip up a batch whenever the craving strikes.
Ingredients of Homemade Mint Chocolate Chip Ice Cream
When it comes to making homemade mint chocolate chip ice cream, the ingredients are key to achieving that creamy, dreamy texture and invigorating mint flavor we all adore. The beauty of this recipe is that it uses simple ingredients that you might already have in your kitchen.
Plus, making it at home means you can tailor it to your taste, whether you like it super minty or with a hint of chocolate. Now, let’s explore what you’ll need to whip up this delightful treat.
Ingredients:
- 2 cups nonfat milk or 2 cups low-fat milk
- 2 cups heavy cream
- 1 cup sugar
- 1/2 teaspoon salt
- 1 teaspoon vanilla extract
- 1 teaspoon peppermint extract
- 3 drops green food coloring
- 1 cup miniature semisweet chocolate chips
Now, let’s chat about some of these ingredients. First off, you have the choice between nonfat milk and low-fat milk, which gives you some flexibility based on what you have in your fridge.
If you’re feeling indulgent, the heavy cream is a must—it’s what gives the ice cream that rich texture we crave. The sugar, of course, sweetens the deal, and I can’t stress enough how important a good vanilla extract can be for flavor depth.
As for the peppermint extract, it’s what brings that invigorating zing, so don’t skimp on it. And those chocolate chips? Well, they’re like the cherry on top, adding that delightful crunch.
And hey, if you prefer a natural coloring method, consider using spinach juice or matcha instead of food coloring. But let’s be real, I usually just go for the green drops because, who’s time to juice spinach when there’s ice cream to be made?
How to Make Homemade Mint Chocolate Chip Ice Cream
Alright, let’s plunge into the deliciousness of making homemade mint chocolate chip ice cream. Start by grabbing a large bowl and whisking together 2 cups of either nonfat milk or low-fat milk, along with 2 cups of heavy cream. The cream is essential here; it really elevates the texture from just okay to “I can’t believe I made this.”
Next, toss in 1 cup of sugar and 1/2 teaspoon of salt. You definitely want to give this a good stir until the sugar dissolves completely because nobody likes that gritty feeling in their ice cream. Oh, and let’s not forget the flavor boosters—add in 1 teaspoon of vanilla extract and 1 teaspoon of peppermint extract. You’ll be amazed at how these simple ingredients turn into something magical.
Once you’ve got that delightful mixture ready, it’s time to bring a little color into your life with 3 drops of green food coloring. Now, don’t go crazy here; you’re not painting a masterpiece. Just a few drops will do the trick, and you can adjust it to your liking.
After that, pour your minty concoction into your ice cream maker and let it freeze according to the manufacturer’s instructions. This is where patience pays off, so try not to hover over the machine like a hawk. About 10 minutes in, it’s time to add 1 cup of miniature semisweet chocolate chips. It’s like adding little nuggets of joy that will make every bite even more enjoyable.
Now, keep an eye on the ice cream as it thickens—this usually takes around 30 minutes. Once it reaches that perfect creamy consistency, spoon it into a container. If you can resist the temptation to dig in right away, pop it in the freezer for about 2 hours. Trust me, the wait is worth it.
When you finally take that first scoop, you’ll be rewarded with a creamy, minty delight that’s just like the ice cream truck used to deliver. Except, this time, you made it. And if you’re anything like me, you’ll probably be feeling a little smug about your ice cream-making prowess. Enjoy the fruits of your labor!
Homemade Mint Chocolate Chip Ice Cream Substitutions & Variations
While I love the classic mint chocolate chip ice cream recipe, experimenting with substitutions and variations can lead to some delightful surprises.
For a lighter version, I sometimes swap nonfat milk for whole milk, which still tastes rich. If you’re dairy-free, use coconut milk for a tropical twist.
I’ve also played around with different extracts—almond or crème de menthe can add a unique flavor. Instead of semisweet chocolate chips, I’ve tried dark chocolate chunks or even mint-flavored chocolate pieces.
You can even add crushed Oreos for a fun texture! There’s so much room for creativity with this recipe!
What to Serve with Homemade Mint Chocolate Chip Ice Cream
If you’re looking to elevate your homemade mint chocolate chip ice cream experience, pairing it with the right accompaniments can make all the difference.
I love serving it alongside warm brownies or fudgy chocolate cake; the contrast of temperatures is heavenly!
Fresh fruit, like strawberries or raspberries, adds a revitalizing touch that complements the mint perfectly.
For a special treat, try drizzling some hot fudge or chocolate sauce over the top.
And don’t forget about crunchy toppings—crushed Oreos or chopped nuts add delightful texture.
These pairings take your ice cream to a whole new level of deliciousness!
Additional Tips & Notes
To enhance your homemade mint chocolate chip ice cream experience, keep a few important tips in mind.
First, chill your ice cream maker bowl overnight for the best texture. If you prefer a stronger mint flavor, feel free to adjust the peppermint extract to your taste.
For a creamier consistency, let the mixture chill in the fridge for a couple of hours before churning. Remember, adding the chocolate chips halfway through the freezing process guarantees they’re evenly distributed.
Finally, if you have leftovers, store them in an airtight container to maintain freshness and avoid ice crystals forming.
Enjoy every scoop!