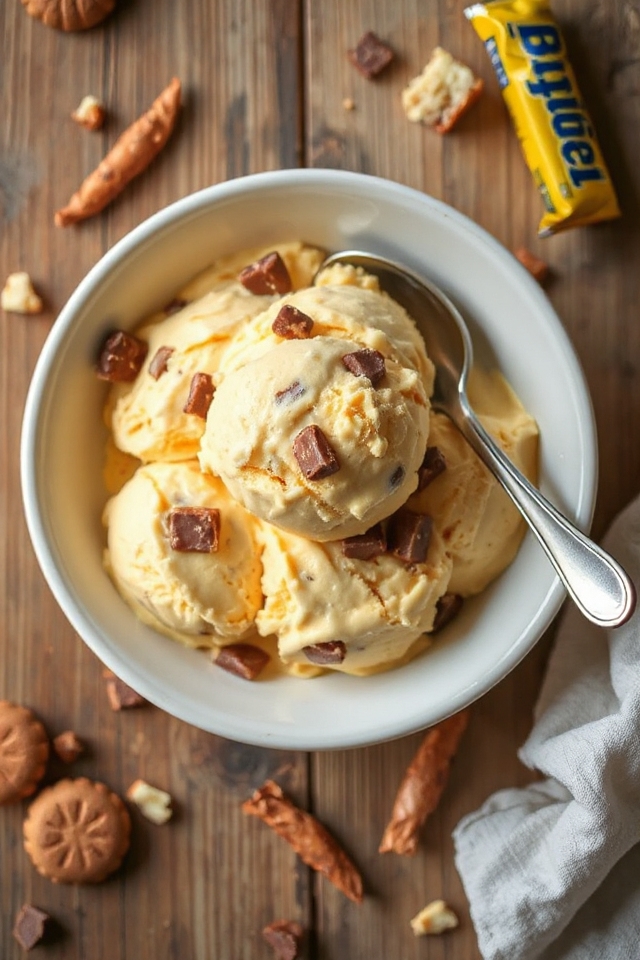
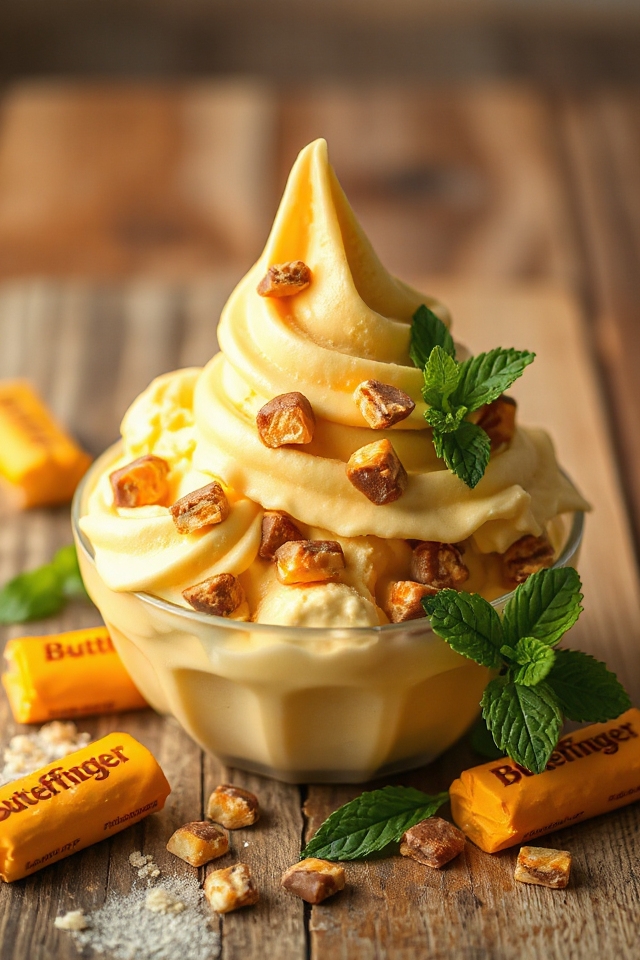
Why You’ll Love This Homemade Butterfinger Ice Cream Recipe
When you take your first scoop of this homemade Butterfinger ice cream, you’ll instantly understand why it’s a favorite in my house.
The creamy texture melts in your mouth, while the crunchy Butterfinger pieces add a delightful contrast.
I love how effortlessly this recipe brings everyone together, whether it’s a hot summer day or a cozy family gathering.
The rich flavors and nostalgic taste remind me of childhood treats, making each bite special.
Plus, it’s incredibly easy to whip up, so I can enjoy this sweet indulgence whenever the craving hits.
Trust me; you won’t want to miss out!
Ingredients of Homemade Butterfinger Ice Cream
When it comes to homemade ice cream, few flavors can compete with the classic combination of creamy goodness and crunchy candy. This Homemade Butterfinger Ice Cream is a delightful treat that brings a smile to my face every time I enjoy it. The best part? It’s super easy to make! You don’t need to be a seasoned chef to whip this up in your kitchen; just gather the ingredients and get ready for a sweet adventure.
Let’s explore what you’ll need to create this deliciously nostalgic dessert.
Ingredients:
- 6 eggs (beaten)
- 1 cup sugar
- 1 (12-ounce) can Pet milk
- 1 (14-ounce) can Eagle Brand Condensed Milk
- 1 pint heavy cream
- 1 (12-ounce) package Butterfinger candy bars (cut into pieces)
- 3-4 cups milk (add to the fill line)
Before you start mixing everything together, there are a few things to take into account about the ingredients. First, make sure your eggs are fresh; nobody wants a surprise with their ice cream.
The heavy cream is essential for that rich, velvety texture, so don’t skimp on it. Also, when it comes to the Butterfinger bars, feel free to adjust the amount—if you’re like me and love that sweet, crunchy goodness, you might want to toss in an extra bar or two.
And if you have any allergies or dietary preferences, there are some alternatives; for instance, you could use coconut cream instead of heavy cream for a dairy-free version. Just think about what you have on hand and what your taste buds are craving.
Happy cooking!
How to Make Homemade Butterfinger Ice Cream
Now that you have all your ingredients ready, let’s plunge into the process of making this dreamy Homemade Butterfinger Ice Cream. First things first, grab those 6 beaten eggs and whisk them together in a large mixing bowl. You want to make sure they’re well blended, so give them a good stir—like you’re trying to impress a crowd (even if it’s just you and your dog watching).
Next, add in the 1 cup of sugar. You might want to take a moment here to appreciate how sweet life is, right? Mix it all together until you see a nice creamy texture forming.
Once your eggs and sugar are best buddies, it’s time to introduce the heavy hitters: the 12-ounce can of Pet milk and the 14-ounce can of Eagle Brand Condensed Milk. Pour them into the bowl and mix until everything is combined, which should be pretty dreamy.
Now, don’t forget the 1 pint of heavy cream—this is what’ll elevate your ice cream to that rich, indulgent level. Blend it all together until you’ve got a smooth mixture, and then it’s time to add the star of the show, the Butterfinger candy bars. Toss in that 12-ounce package of Butterfinger pieces; you might want to save a few for snacking later (I won’t tell). Give it a mix, and don’t be shy—let those chocolatey, crunchy bits get cozy with the rest of the creamy goodness.
Now, here’s where the magic happens. Pour your mixture into your freezer can, and here’s a pro tip: you’ll want to fill it just about to the fill line with 3 to 4 cups of milk. This helps create that perfect texture when it’s churned.
Once it’s all in there, it’s time to freeze! If you’re using an electric freezer, let it churn until it’s firm, which usually takes a couple of hours. While you wait, you can clean up the kitchen or, let’s be honest, sneak a few more Butterfinger pieces.
When it’s finally ready, scoop it into bowls, top with any extra candy if you’re feeling fancy, and enjoy your homemade creation. It’s like a trip down memory lane, one creamy bite at a time.
Homemade Butterfinger Ice Cream Substitutions & Variations
After you’ve perfected the creamy base of your Homemade Butterfinger Ice Cream, there’s plenty of room for creativity with substitutions and variations.
For a chocolate twist, try adding crushed Oreos or chocolate syrup. If you’re feeling adventurous, mix in other candy bars like Snickers or Milky Way. You can also swap out Butterfingers for toffee bits for a different crunch.
For a lighter version, use half-and-half instead of heavy cream. And if you want a dairy-free option, experiment with coconut or almond milk.
The possibilities are endless, so don’t hesitate to make this recipe your own!
What to Serve with Homemade Butterfinger Ice Cream
To elevate your Homemade Butterfinger Ice Cream experience, consider pairing it with a warm slice of chocolate cake or a drizzle of hot fudge.
The rich chocolate complements the buttery, crunchy flavors of the ice cream perfectly. You might also enjoy serving it alongside some fresh berries for a revitalizing contrast.
If you’re feeling adventurous, why not create a sundae bar? Lay out toppings like chopped nuts, whipped cream, and caramel sauce.
Each option adds a unique twist to the ice cream, making your dessert not just a treat, but an enjoyable experience for everyone at the table.
Additional Tips & Notes
While making Homemade Butterfinger Ice Cream is a fun and rewarding process, there are a few tips that can enhance your results. First, make sure all your ingredients are well-chilled before mixing; it helps the ice cream freeze faster.
I’ve found that using a combination of whole milk and heavy cream gives the best texture. Don’t rush the freezing process—let it firm up completely for the ideal consistency.
If you want more crunch, save some Butterfinger pieces to stir in just before serving. Finally, store the ice cream in an airtight container to keep it fresh longer. Enjoy!