Why You’ll Love This Ice Cream in a Bag Recipe
Have you ever wanted a quick and fun way to make ice cream at home? I absolutely love this ice cream in a bag recipe because it’s so simple and requires no fancy equipment.
You can whip up delicious ice cream in just about 10 minutes! Plus, it’s a great activity to do with friends or family.
I appreciate how customizable it is, allowing me to experiment with different flavors and mix-ins. It’s a perfect treat for hot days or cozy nights.
Best of all, there’s no mess—just shake, knead, and enjoy a delightful homemade dessert!
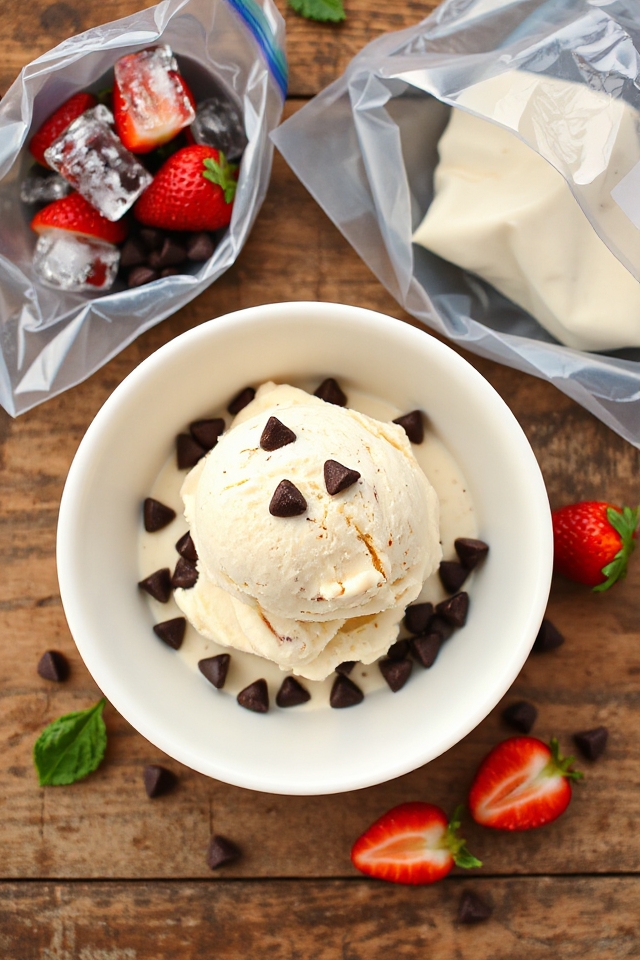
Ingredients of Ice Cream in a Bag
Making ice cream in a bag isn’t just a fun activity; it’s also a delicious way to cool down on a hot day. You don’t need any fancy equipment, just a couple of Ziploc bags and a few simple ingredients. This recipe is perfect for when you’re craving something sweet but don’t want to spend hours in the kitchen.
Plus, you can get creative with flavors and toppings, which makes it a blast to do with friends or family. Who knew making ice cream could be this easy—or this much fun?
Here’s a quick rundown of what you’ll need to whip up this delightful treat:
- 1/2 cup heavy cream or whipping cream
- 1 tablespoon sugar
- 1/4 teaspoon vanilla extract
- 3 cups ice cubes
- 1/3 cup salt (rock salt works best)
- 1 quart Ziploc bag
- 1 gallon Ziploc bag
Now, let’s talk about the ingredients a little more. Using heavy cream or whipping cream is essential to getting that creamy texture we all love in ice cream. If you’re feeling adventurous, you can swap out the vanilla for other extracts like almond or mint to mix things up.
And while rock salt is the traditional choice, regular table salt can work in a pinch, though it mightn’t be as effective. This recipe is super forgiving; you can even add in chocolate chips, crushed cookies, or fruit for a fun twist.
Just remember, the more mix-ins you add, the less room there’s for actual ice cream, so balance is vital. Let your imagination run wild, and before you know it, you’ll have a delightful treat that’s uniquely yours!
How to Make Ice Cream in a Bag

Making ice cream in a bag is like magic—but it’s the kind of magic that requires a few ingredients and some good old-fashioned shaking. So, let’s get down to business.
First, grab your 1/2 cup of heavy cream or whipping cream. This is what makes your ice cream creamy and dreamy. Pour it into a quart-sized Ziploc bag along with 1 tablespoon of sugar and 1/4 teaspoon of vanilla extract. Now seal that bag, and give it a gentle shake to mix everything up. It’s like a mini workout, but way more delicious. I promise you, this is way more fun than any gym session.
Next, we need to create the chilling magic. Grab your gallon-sized Ziploc bag and fill it with 3 cups of ice cubes. Then, sprinkle in 1/3 cup of salt—rock salt is the MVP here, but if you only have table salt, it can work too, just not as effectively.
Now, take your smaller bag with the cream mixture and place it inside the larger bag filled with ice and salt. Seal the big bag tightly, making sure it’s not going to leak everywhere, because that would be a total disaster.
Then comes the fun part: knead and shake the bag for about 10 minutes. It may feel a bit like you’re training for the ice cream Olympics, but trust me, it’s worth it. You’ll know it’s ready when the ice cream inside has thickened up nicely.
Once it’s reached that perfect consistency, carefully remove the smaller bag from the larger one. Now comes the best part: open it up, scoop out your homemade ice cream, and enjoy! It’s like a reward for your hard work, and the possibilities are endless.
Want to add chocolate chips or fresh fruit? Go for it. You can even make it a family activity—everyone can personalize their own bags. Just remember to take a picture of your ice cream masterpiece before you dig in, because if you don’t post it online, did it really happen?
Ice Cream in a Bag Substitutions & Variations
After shaking up that delicious ice cream, you might wonder how to switch things up or cater to different tastes.
I love experimenting with flavors! Instead of vanilla, try almond extract or a spoonful of cocoa powder for chocolate ice cream. You can also swap the heavy cream for coconut milk for a dairy-free option.
Want a fruity twist? Add mashed bananas or pureed strawberries. For a crunch, toss in crushed cookies or nuts before sealing the bag.
Each variation brings something unique, making this treat even more enjoyable. So, get creative and find your perfect flavor!
What to Serve with Ice Cream in a Bag
Ice cream in a bag is a delightful treat that can be even better when paired with the right accompaniments.
I love to serve it with fresh fruit like strawberries or bananas, which add a rejuvenating sweetness. Crushed cookies or graham crackers bring a satisfying crunch, while chocolate syrup or caramel drizzle elevates the flavor.
For a fun twist, I sometimes add colorful sprinkles or chopped nuts for texture. If I’m feeling indulgent, I’ll offer whipped cream on the side.
These simple extras make the experience even more enjoyable, turning a fun treat into a delightful dessert celebration!
Additional Tips & Notes
When serving ice cream in a bag, a few extra tips can enhance the experience.
First, feel free to customize your flavors by adding mix-ins like chocolate chips, fruit, or nuts before sealing the smaller bag. I also recommend using rock salt, as it lowers the freezing point more effectively than regular salt.
To make cleanup easier, lay down a towel or use a tray to catch any spills.
Finally, remember to wear gloves or a towel while shaking the bags; it can get really cold!
Enjoy your homemade treat with friends and family for a fun, interactive dessert!