Why You’ll Love This Kiwi Ice Cream Recipe
You’ll absolutely love this Kiwi Ice Cream recipe for its invigorating and vibrant flavor that perfectly captures the essence of summer.
Each scoop is a delightful burst of sweetness and tartness, making it the perfect treat on a hot day. I adore how easy it’s to make, and the creamy texture is simply irresistible.
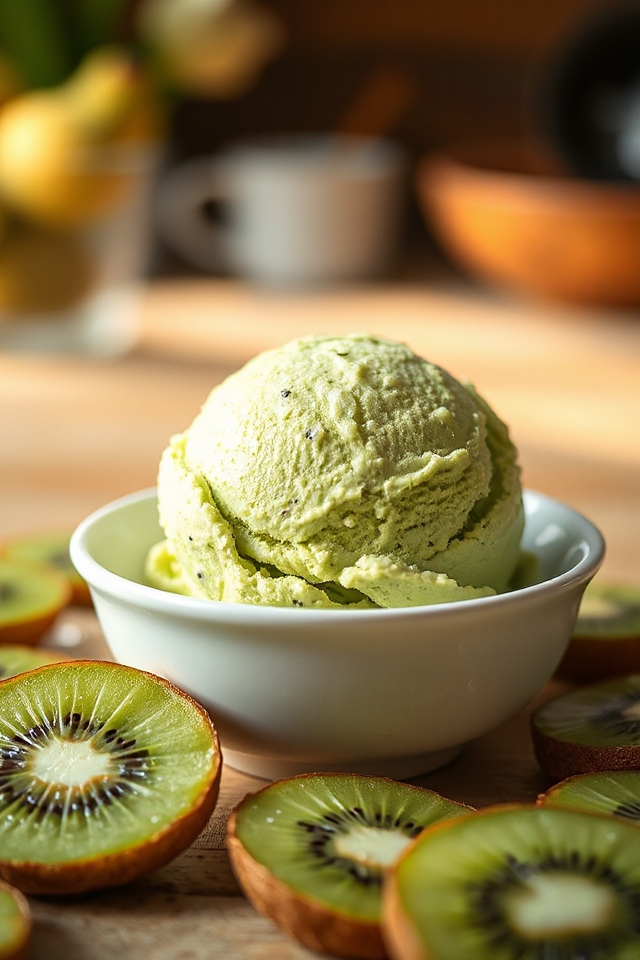
Plus, the bright green color is so inviting! It’s a unique twist on traditional ice cream, and your friends will be impressed when you serve it at gatherings.
Trust me, once you try this invigorating dessert, it’ll become a summer staple in your home!
Ingredients of Kiwi Ice Cream
When it comes to making a revitalizing dessert, nothing quite beats homemade Kiwi Ice Cream. The ingredients are simple and straightforward, making it easy for anyone to whip up a delicious batch.
Plus, the combination of sweet and tart kiwi brings such a unique flavor to the table that you might even forget about your usual chocolate or vanilla. So, if you’re ready to impress your taste buds (and your friends), let’s make this happen. Here’s what you’ll need to get started on your fruity adventure.
Ingredients for Kiwi Ice Cream:
- 6 ripe kiwi fruits
- 1 cup sugar
- 2 tablespoons sugar (for the kiwi)
- 2 eggs
- 2 cups heavy cream
Now, let’s talk about the ingredients a bit more. First off, when choosing your kiwis, make sure they’re ripe – you want them to be a little soft to the touch, which means they’ll be extra sweet.
And if you’re feeling adventurous, you might even want to try using a mix of kiwi varieties, like the golden kiwi, which is sweeter and less tangy than the green ones.
As for the sugar, you can adjust the amount based on how sweet you like your ice cream. Just remember, sugar not only sweetens but also helps create that creamy texture we all love. So, don’t be too stingy!
And heavy cream? Oh, that’s the secret to making this ice cream rich and luscious. Trust me, it’s worth every calorie.
How to Make Kiwi Ice Cream
Alright, let’s plunge into the fun part of making your own Kiwi Ice Cream. First things first, grab those 6 ripe kiwi fruits and peel them. You want to get rid of that fuzzy skin, so don’t be shy.
Once they’re all peeled, toss them into a bowl and mash them up until you have a nice, smooth puree. This is where the magic begins. Now, sprinkle in 2 tablespoons of sugar and give it a good stir. Cover that bowl and let it chill in the fridge for about an hour. This not only helps to enhance the flavor but also gives the kiwi time to break down and get even sweeter. If you find yourself snacking on the kiwi while waiting, I totally understand. It’s hard to resist.
While the kiwi is getting all cozy in the fridge, let’s tackle the creamy base for our ice cream. In a separate mixing bowl, whisk 2 eggs until they’re light and fluffy—go ahead, channel your inner pastry chef for a minute. It should take about 1-2 minutes of vigorous whisking.
Then, gradually add in 1 cup of sugar, a little at a time, continuing to whisk until everything is perfectly blended. Once you’ve achieved that creamy goodness, pour in 2 cups of heavy cream and whisk again to combine.
Now, here’s the fun part: stir in your kiwi puree. It’s like a beautiful green swirl of deliciousness that’s just waiting to be frozen.
After you’ve combined everything, it’s time to bring out the ice cream maker. Pour the mixture into your machine and follow the manufacturer’s instructions. If you don’t have an ice cream maker, no worries—just pour it into a shallow dish and pop it in the freezer.
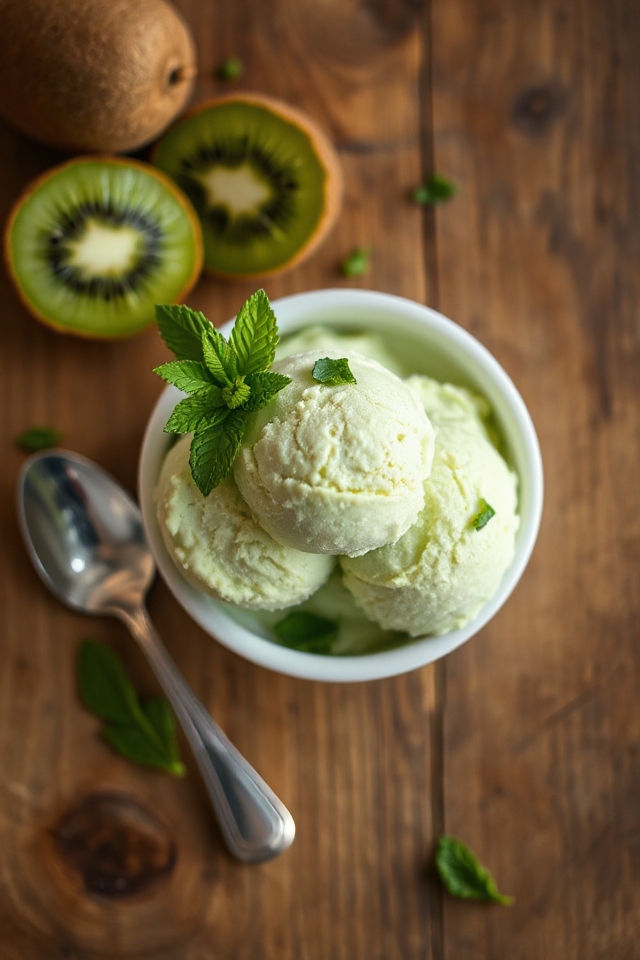
Stir it every 30-60 minutes until it reaches that dreamy, creamy texture you’re after. Once it’s frozen and ready to serve, scoop it into bowls, and sit back to enjoy the fruits of your labor. You might even want to throw in a few extra kiwi slices on top for that Instagram-worthy touch. Trust me, you’ll feel like a kitchen superstar.
Kiwi Ice Cream Substitutions & Variations
If you’re looking to mix things up with your Kiwi Ice Cream, there are plenty of substitutions and variations to contemplate.
For a creamier texture, I sometimes swap half the heavy cream for coconut milk. If you want a tangy twist, try adding a splash of lime juice or zest.
You can also replace some of the sugar with honey or agave syrup for a different sweetness. For added texture, toss in crushed nuts or chocolate chips.
And if you’re feeling adventurous, blend in other fruits like mango or pineapple for a tropical treat. The possibilities are endless!
What to Serve with Kiwi Ice Cream
After experimenting with substitutions and variations in my Kiwi Ice Cream, I’ve discovered that serving it with the right accompaniments can elevate the experience.
Fresh fruit, like sliced strawberries or mango, adds color and complements the kiwi’s tanginess beautifully. I love drizzling a bit of honey or passion fruit syrup over the top for extra sweetness.
Crushed graham crackers or toasted coconut make for a delightful crunch. If I’m feeling indulgent, a dollop of whipped cream or a scoop of vanilla ice cream on the side creates a creamy contrast.
These pairings truly enhance the overall flavor adventure!
Additional Tips & Notes
While making Kiwi Ice Cream is straightforward, a few additional tips can enhance your results.
First, let the kiwis ripen fully for the best flavor. If you want a smoother texture, consider straining the kiwi puree to remove seeds.
When whisking the eggs, make sure they’re light and fluffy to incorporate air, which adds creaminess.
If you don’t have an ice cream maker, pour the mixture into a shallow dish and stir every 30 minutes until frozen.
Finally, store the ice cream in an airtight container to maintain freshness.
Enjoy your delicious homemade treat!