Why You’ll Love This Old Fashioned Homemade Vanilla Ice Cream Recipe
There’s something truly special about homemade vanilla ice cream that store-bought simply can’t match.
When I make it, I get to control every aspect, from the creaminess to the flavor intensity. The process feels nostalgic, reminding me of summers spent with family.
I love the way the rich aroma of vanilla fills my kitchen, creating anticipation. Each scoop brings a delightful creaminess that’s hard to resist, especially when it’s fresh and slightly soft.
Plus, there’s a satisfying joy in sharing my creation with friends, watching their faces light up as they indulge in this sweet, homemade treat.
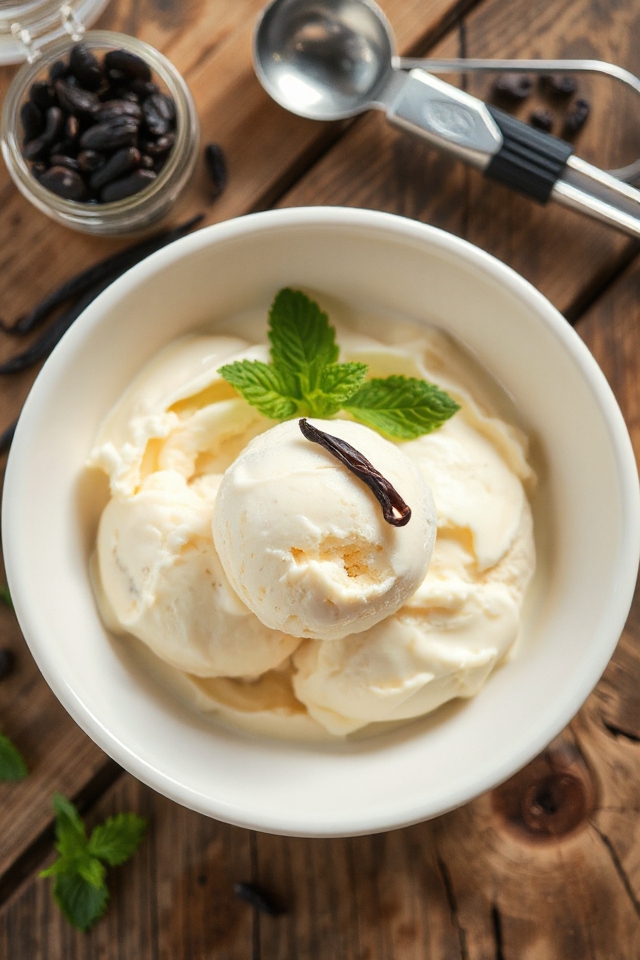
Ingredients of Old Fashioned Homemade Vanilla Ice Cream
Making Old Fashioned Homemade Vanilla Ice Cream is like stepping into a warm hug on a hot summer day. The ingredients are simple, yet each one plays a vital role in creating that creamy, dreamy dessert we all adore.
Have you ever thought about how just a few basic items can transform into something so delicious? It’s a magical process, really. Let’s take a look at what you’ll need to whip up this delightful treat.
Ingredients for Old Fashioned Homemade Vanilla Ice Cream:
- 3/4 cup sugar
- 1/8 teaspoon salt
- 1 1/4 cups whole milk
- 3 eggs, beaten
- 1 1/2 cups whipping cream
- 1 tablespoon pure vanilla extract
Now, let’s talk about these ingredients a bit more. First up, sugar is the sweet magic that brings everything together, but you can always adjust it if you prefer a less sweet treat.
The salt? Just a pinch, but it really enhances the sweetness and balances flavors. Whole milk gives the ice cream that luscious creaminess we crave, while the eggs help create a silky texture. You know, the kind that makes you feel fancy when you scoop it?
And don’t forget the whipping cream—this is what makes it rich and indulgent. Finally, pure vanilla extract is a must; it adds that aromatic essence that makes homemade ice cream feel extra special.
It’s like the cherry on top, even before you add the cherries! So, gather these ingredients, and let’s get ready to set off on the delicious adventure of making your very own ice cream.
How to Make Old Fashioned Homemade Vanilla Ice Cream
Making Old Fashioned Homemade Vanilla Ice Cream is a delightful journey that starts with the simplest of ingredients. First things first, grab a saucepan and throw in 3/4 cup of sugar and a pinch, specifically 1/8 teaspoon of salt. Add in 1 1/4 cups of whole milk and set it over medium heat.
Now, you’ll want to stir occasionally until the mixture is just on the verge of boiling—trust me, that’s where the magic begins. It’s like watching a pot of water; it feels like it takes forever, but it’s so worth it when it starts to bubble. Once it’s almost there, turn the heat down to low.
Now, for the tricky part that always feels a bit like a cooking class test. You need to gradually stir about 1/2 cup of that hot milk mixture into the 3 beaten eggs. This step is essential because you don’t want scrambled eggs in your ice cream.
After you’ve gently warmed the eggs, pour them back into the saucepan with the remaining hot mixture. Keep stirring—seriously, don’t stop—until it thickens slightly, which should take about 5 minutes. If you start daydreaming about the ice cream, you might miss that perfect moment, and nobody wants that.
Once it’s thickened, remove it from the heat and let it chill in the fridge for at least 2 hours. I know, waiting is the hardest part, but it’s so necessary for that creamy texture.
After your mixture has cooled down, it’s time to bring in the heavy hitters. Combine 1 1/2 cups of whipping cream and 1 tablespoon of pure vanilla extract with your chilled concoction. Use a wire whisk to blend everything together.
This is where you can channel your inner professional chef, even if your kitchen is a chaotic mess—who’s judging? Once combined, pour it into your ice cream maker’s canister and churn according to the manufacturer’s instructions.
You’ll see it transform right before your eyes into a luscious, creamy delight. And just like that, you’ve crafted homemade vanilla ice cream that’s ready to be scooped and savored. Just remember, the best part is sharing it with friends, or not—no judgment here if you want it all to yourself.
Old Fashioned Homemade Vanilla Ice Cream Substitutions & Variations
After creating that creamy homemade vanilla ice cream, you might wonder how to switch things up or cater to different tastes.
If you’re looking for a dairy-free option, try substituting coconut milk for whole milk and coconut cream for the whipping cream. For a richer flavor, add a touch of almond extract or swap out the vanilla for a flavored extract like hazelnut.
Want to get adventurous? Toss in mix-ins like crushed cookies, chocolate chips, or fresh fruit. You can even infuse the milk with spices like cinnamon or nutmeg for a unique twist that’ll impress everyone!
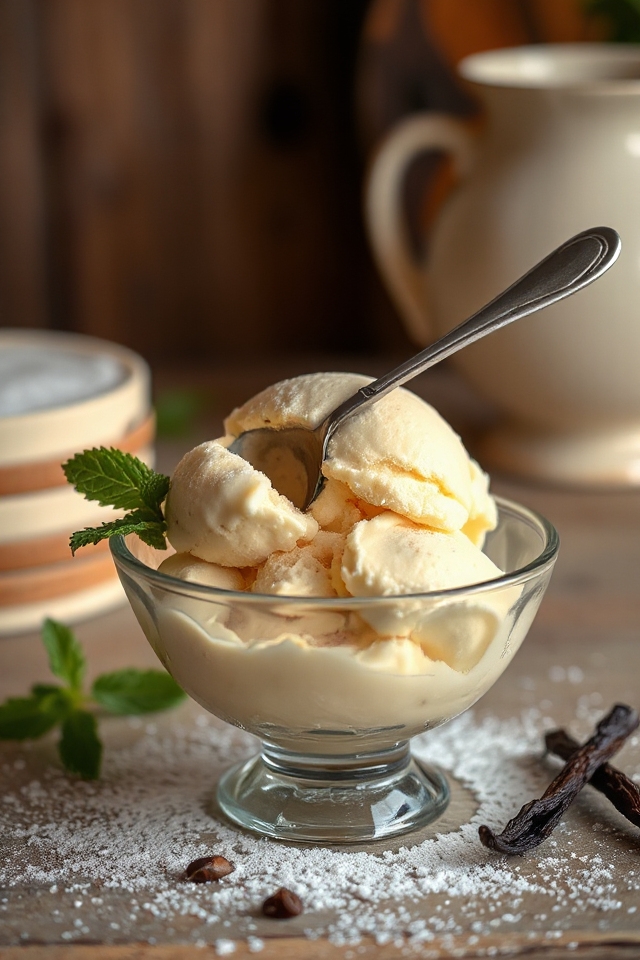
What to Serve with Old Fashioned Homemade Vanilla Ice Cream
Homemade vanilla ice cream is a versatile treat that pairs beautifully with a variety of accompaniments.
I love serving it with warm chocolate fudge sauce for that classic sundae experience. Fresh berries, like strawberries or raspberries, add a delightful tartness that complements the sweetness perfectly.
For a crunchy texture, try crushed cookies or nuts sprinkled on top. If I’m feeling adventurous, I might drizzle caramel or honey for an extra layer of flavor.
And let’s not forget about pie—this ice cream is fantastic alongside a slice of warm apple or pecan pie. The possibilities are endless!
Additional Tips & Notes
While you’re preparing your homemade vanilla ice cream, there are a few tips to guarantee it turns out perfectly creamy and delicious.
First, make sure your ingredients are cold; this helps the mixture churn better. I recommend using fresh eggs for the best flavor and texture.
Also, don’t skip the chilling step; letting the base cool completely is essential for that creamy consistency. If you want a richer taste, try adding a pinch of sea salt.
Finally, remember to churn it until it’s thick but not overly frozen. Enjoy the process, and savor your delightful creation!