Why You’ll Love This Old Fashioned Ice Cream Recipe
When it comes to indulgent treats, nothing beats the nostalgia of old fashioned ice cream.
I love how this classic recipe brings back memories of summer afternoons spent on the porch, savoring each creamy bite. The rich flavor and smooth texture make every scoop feel like a special occasion.
It’s not just the taste, though; it’s the joy of creating something from scratch, mixing ingredients with care, and waiting for that magical moment when it’s ready to serve.
Sharing this delightful treat with friends and family makes it even more rewarding.
Trust me, once you try it, you’ll be hooked!
Ingredients of Old Fashioned Ice Cream
When it comes to making your own ice cream, the ingredients are where the magic starts. Old fashioned ice cream is all about simplicity and quality, and trust me, you don’t need fancy stuff to whip up a delicious batch. We’re talking about basic pantry staples combined with a little love and patience.
So, let’s plunge into what you’ll need to create this creamy delight that’ll have you reminiscing about summers gone by.
Here’s your shopping list for Old Fashioned Ice Cream:
- 3/4 cup sugar
- 1/4 teaspoon salt
- 1 tablespoon flour
- 2 cups milk
- 2 egg yolks
- 2 (12 ounce) cans evaporated milk
- 2 teaspoons vanilla extract
Now, before you start gathering these ingredients, let’s chat about them a bit. First off, the sugar is what sweetens the deal, but if you’re feeling adventurous, you could play around with different sweeteners—just keep in mind that it might change the flavor a smidge.
The flour? It’s there to help thicken things up, creating that luscious texture we all crave in ice cream. And speaking of texture, you definitely want to use whole milk for the richest taste. If you can find fresh, local milk, even better!
As for the vanilla, I can’t stress enough how much better real vanilla extract is compared to imitation—trust me, your taste buds will thank you. Finally, don’t skimp on the chilling time; patience is key here, and the waiting makes the first scoop that much sweeter.
How to Make Old Fashioned Ice Cream
Making Old Fashioned Ice Cream is like taking a delicious trip down memory lane, where good company and sweet treats reign supreme. To get started, grab yourself a double boiler—if you don’t have one, don’t worry; you can improvise with a heatproof bowl set over a pot of simmering water.
In that double boiler, mix together 2 cups of milk, 3/4 cup of sugar, 1/4 teaspoon of salt, and 1 tablespoon of flour. Turn the heat to medium and let it all come together beautifully for about 5 minutes, stirring constantly. I mean, who doesn’t love a good arm workout while making ice cream? Just think of it as your personal gym session, but way more rewarding.
Now, while the milk mixture is getting all cozy, it’s time to prepare the egg yolks. You’ll need 2 egg yolks for this step. Lightly beat them in a bowl, and then, here’s the trick—temper the yolks by adding a little bit of that hot milk mixture to them. It’s a bit like introducing two friends for the first time; you want to ease them into each other.
Once that’s done, pour the yolks back into the double boiler, stirring constantly for another 2 minutes. This step is essential because it helps create that creamy, dreamy texture we all adore. Once you’ve done that, chill the mixture in the fridge or freezer until it’s cool. You’ll want to be patient here; I know it’s hard to wait when ice cream is on the line, but trust me, it’ll be worth it.
Once your mixture has cooled down, add in 2 teaspoons of vanilla extract and the 2 (12 ounce) cans of evaporated milk. This is where the magic happens—your ice cream base is coming together! Give it all a good stir, and then it’s time to follow the instructions for your ice cream maker.
If you don’t have one, well, you could always try the old-school method of hand-churning it, but let’s be real—you’d probably be better off saving your energy for the taste test later. After your ice cream is churned to perfection, transfer it to a container and let it firm up in the freezer.
And just like that, you have homemade Old Fashioned Ice Cream that’s ready to be scooped, savored, and shared with loved ones. So, what’re you waiting for? Get out there and make some sweet memories!
Old Fashioned Ice Cream Substitutions & Variations
After whipping up a batch of that creamy Old Fashioned Ice Cream, you might find yourself wanting to experiment with different flavors or ingredients.
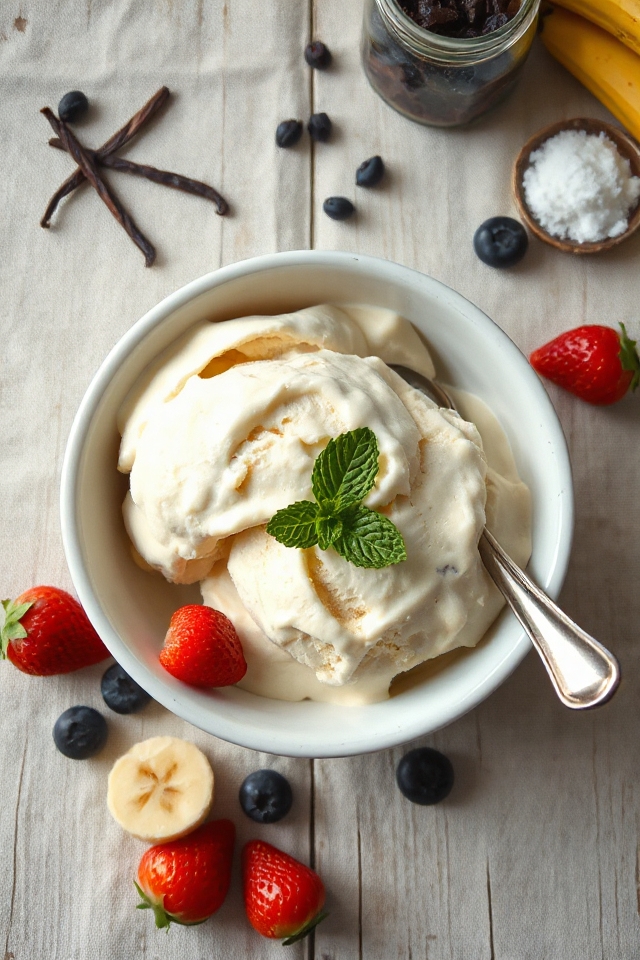
I love swapping out regular milk for almond or coconut milk for a dairy-free option. You can also add flavored extracts like almond or mint for a twist.
For a fruity variation, toss in some fresh berries or crushed bananas. Feeling adventurous? Try mixing in crushed cookies or candy bars.
Just remember to keep the base ratio balanced so it freezes well. Each tweak brings a new delight to your homemade ice cream experience!
What to Serve with Old Fashioned Ice Cream
While I adore savoring Old Fashioned Ice Cream on its own, pairing it with the right accompaniments can elevate the experience to new heights.
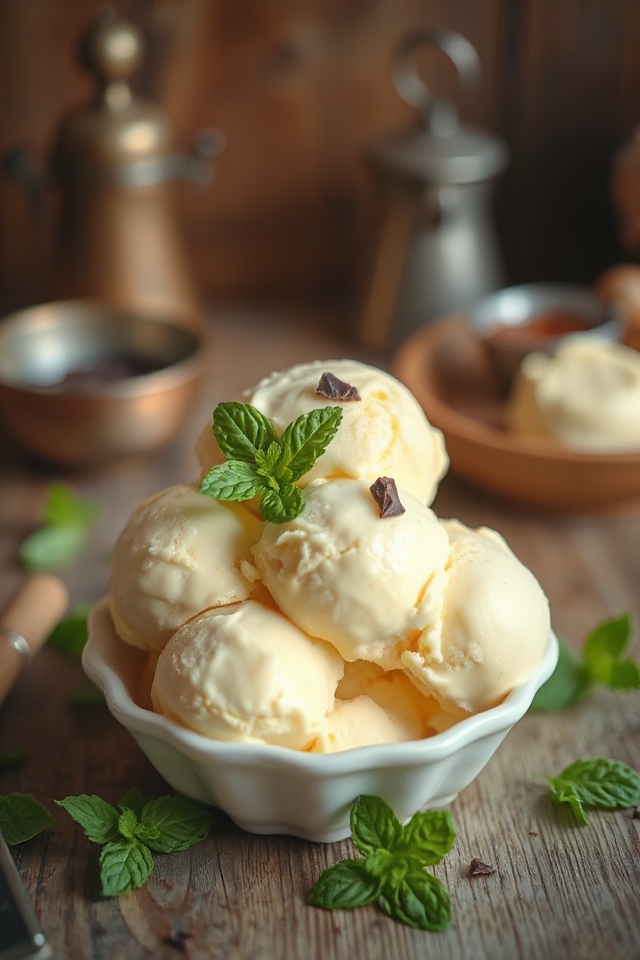
Freshly baked brownies or warm pie create a delightful contrast in temperature and texture. I also love serving it with a drizzle of rich chocolate sauce or homemade caramel for extra indulgence.
Adding seasonal fruits like ripe strawberries or peaches enhances the flavor beautifully. For a fun twist, I sometimes top it with crushed cookies or nuts, giving that perfect crunch.
Each pairing transforms a simple scoop into a memorable dessert that keeps everyone coming back for more!
Additional Tips & Notes
To achieve the creamiest texture in your Old Fashioned Ice Cream, it’s important to properly chill your ingredients before mixing.
I recommend letting your milk and evaporated milk sit in the fridge for a few hours.
Also, don’t skip the tempering step with the egg yolks; it’s vital for a smooth consistency.
If you want to experiment, try adding mix-ins like crushed cookies or fresh fruit right before freezing.
Finally, if you find the ice cream too hard after freezing, let it sit at room temperature for a few minutes before scooping.
Enjoy your delicious homemade treat!