Why You’ll Love This Snow Ice Cream Recipe
If you’ve ever wanted to capture the magic of winter in a delicious treat, you’ll love this Snow Ice Cream recipe. It’s simple and fun, making it perfect for family gatherings or a cozy day at home.
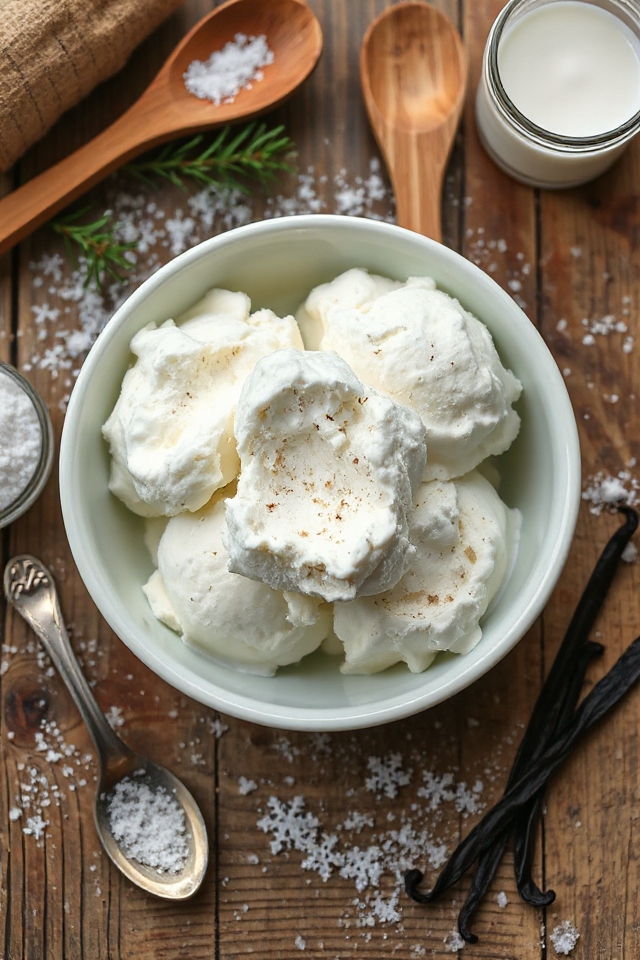
The combination of fluffy snow, sweet cream, and a hint of vanilla creates a delightful dessert that’s both nostalgic and invigorating. Plus, it’s a fantastic way to use fresh, clean snow!
I cherish the moments spent making it with loved ones, watching their faces light up with joy as they dig into this unique winter treat. Trust me; you won’t want to miss it!
Ingredients of Snow Ice Cream
Snow Ice Cream is one of those delightful recipes that just screams winter fun! Who wouldn’t want to take a scoop of fresh, powdery snow and transform it into a creamy, sweet treat? It’s so easy that even kids can get involved, making it a perfect opportunity for family bonding.
Plus, it’s a fantastic way to enjoy the snowy weather without having to brave the cold for too long. Imagine gathering fresh snow and whipping up a delicious dessert, all while keeping warm indoors. It’s like bringing a little bit of magic to your kitchen!
Here’s what you’ll need to make this frosty concoction:
- 1 cup heavy cream
- 1/4 cup sugar (feel free to adjust based on your sweet tooth)
- 1 teaspoon vanilla extract
- 4 cups clean snow (make sure it’s fresh and free of debris)
Now, let’s talk about those ingredients for a second. Heavy cream is key here; it provides that rich, creamy texture that makes your snow ice cream feel indulgent.
If you’re really feeling adventurous, you could even play around with flavored extracts or add some cocoa powder for a chocolate twist. Just make sure your snow is clean and safe to eat—trust me, no one wants an unexpected crunch from dirt or other surprises.
And if you live in an area where snow is sparse, you could always save this recipe for the next big snowfall. It’s worth the wait for such a fun treat!
How to Make Snow Ice Cream
Making Snow Ice Cream isn’t only a fun winter activity, but it also fills your kitchen with the sweet aroma of vanilla and sugar—it’s like a little slice of snowy heaven.
To get started, grab 1 cup of heavy cream and pour it into a large mixing bowl. You’ll want to use an electric mixer for this part because, trust me, you don’t want to be whisking that cream by hand. Turn the mixer on high speed and watch as the cream transforms into fluffy clouds. You’re looking for stiff peaks, which means you should be able to hold the bowl upside down without anything spilling out. It’s kind of like magic, right?
Once your cream is whipped to perfection, it’s time to sweeten the deal. Add in 1/4 cup of sugar and 1 teaspoon of vanilla extract. You can always adjust the sugar based on how sweet you like your treats—after all, some of us have a serious sweet tooth.
Gently fold these ingredients into the whipped cream, being careful not to deflate all that lovely air you just whipped in. Now for the most exciting part: the snow! Gather 4 cups of clean, fresh snow (not the yellow kind, please) and gently fold it into the mixture. This is where the magic happens, as the fluffy snow combines with the creamy mixture to create a delicious ice cream blend.
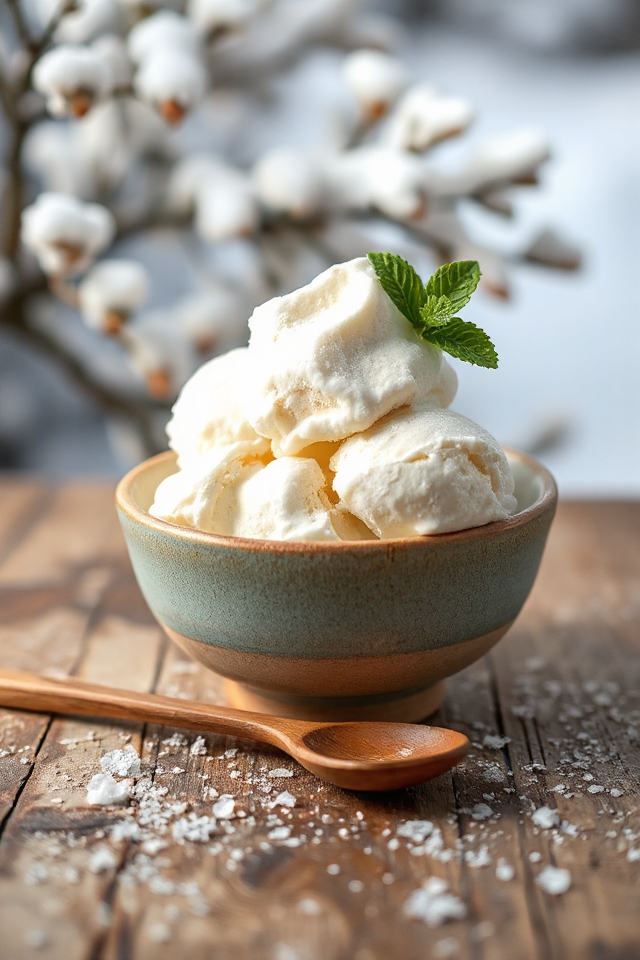
Once everything is mixed well, you can dig in immediately. Yes, I said immediately. There’s nothing quite like enjoying a scoop of snow ice cream while it’s still fluffy and fresh.
But if you want to save some for later, just pop it in the freezer until it hardens a bit more. Just remember to eat it within a few days—because, let’s be honest, who can resist such a delightful winter treat for long?
Snow Ice Cream Substitutions & Variations
While I love the classic snow ice cream recipe, there are plenty of substitutions and variations you can try to mix things up.
For a richer taste, swap heavy cream for sweetened condensed milk. If you’re craving chocolate, add cocoa powder or melted chocolate to the mix.
To brighten things up, consider using flavored extracts like almond or peppermint. You can also experiment with different sweeteners, such as honey or maple syrup.
For a fruity twist, blend in pureed berries or citrus zest. Each variation offers a unique flavor, making snow ice cream even more delightful and personalized!
What to Serve with Snow Ice Cream
When it comes to serving snow ice cream, there are countless delicious accompaniments to elevate your treat.
I love drizzling warm chocolate syrup over the top for a rich contrast. Fresh berries add a vibrant touch and a burst of flavor, while crushed nuts provide a delightful crunch. You could also sprinkle some colorful sprinkles for a fun twist.
If I’m feeling adventurous, I might serve it alongside a slice of warm pie, like apple or cherry, to create a delightful dessert duo.
Whatever you choose, these additions will make your snow ice cream experience even more enjoyable!
Additional Tips & Notes
To guarantee your snow ice cream turns out perfectly, remember a few key tips.
First, use clean, fresh snow; avoid yellow or dirty snow. If you can, gather the snow right before making your ice cream for the best texture.
Don’t hesitate to adjust the sugar and vanilla to suit your taste; I often add a bit more for extra sweetness.
If you want a creamier texture, consider mixing in a touch of milk or sweetened condensed milk.
Finally, serve it right away for the best flavor, but if you have leftovers, pop them in the freezer for later enjoyment!